Setup Wizard
The Setup Wizard walks an administrator through all the essential configuration steps the first time Reveal is deployed. It is accessible at /setup/config and is protected by the break-glass admin session.
Overview of steps
The wizard has 8 steps in sequence:
| Step | What you configure |
|---|---|
| 1 — Welcome | Review what the wizard will configure and confirm your license |
| 2 — Secrets Source | Choose where credentials are stored — AWS Secrets Manager, Azure Key Vault, GCP Secret Manager, or HashiCorp Vault |
| 3 — Identity Provider | Set up how users log in — SSO (OIDC) or a local admin account |
| 4 — Create Local Admin | Create the first administrator account (shown when Local Login is chosen) |
| 5 — Azure Resources | Deploy Azure OpenAI, AI Search, and Blob Storage |
| 6 — AWS S3 Storage | Configure S3 buckets and deploy the vector bucket for Cloud Storage |
| 7 — System Settings | Review and fill in any remaining configuration values |
| 8 — Setup Complete | Apply configuration and go to login |
Step 1 — Welcome
The welcome screen summarises what the wizard will configure and shows your active license.
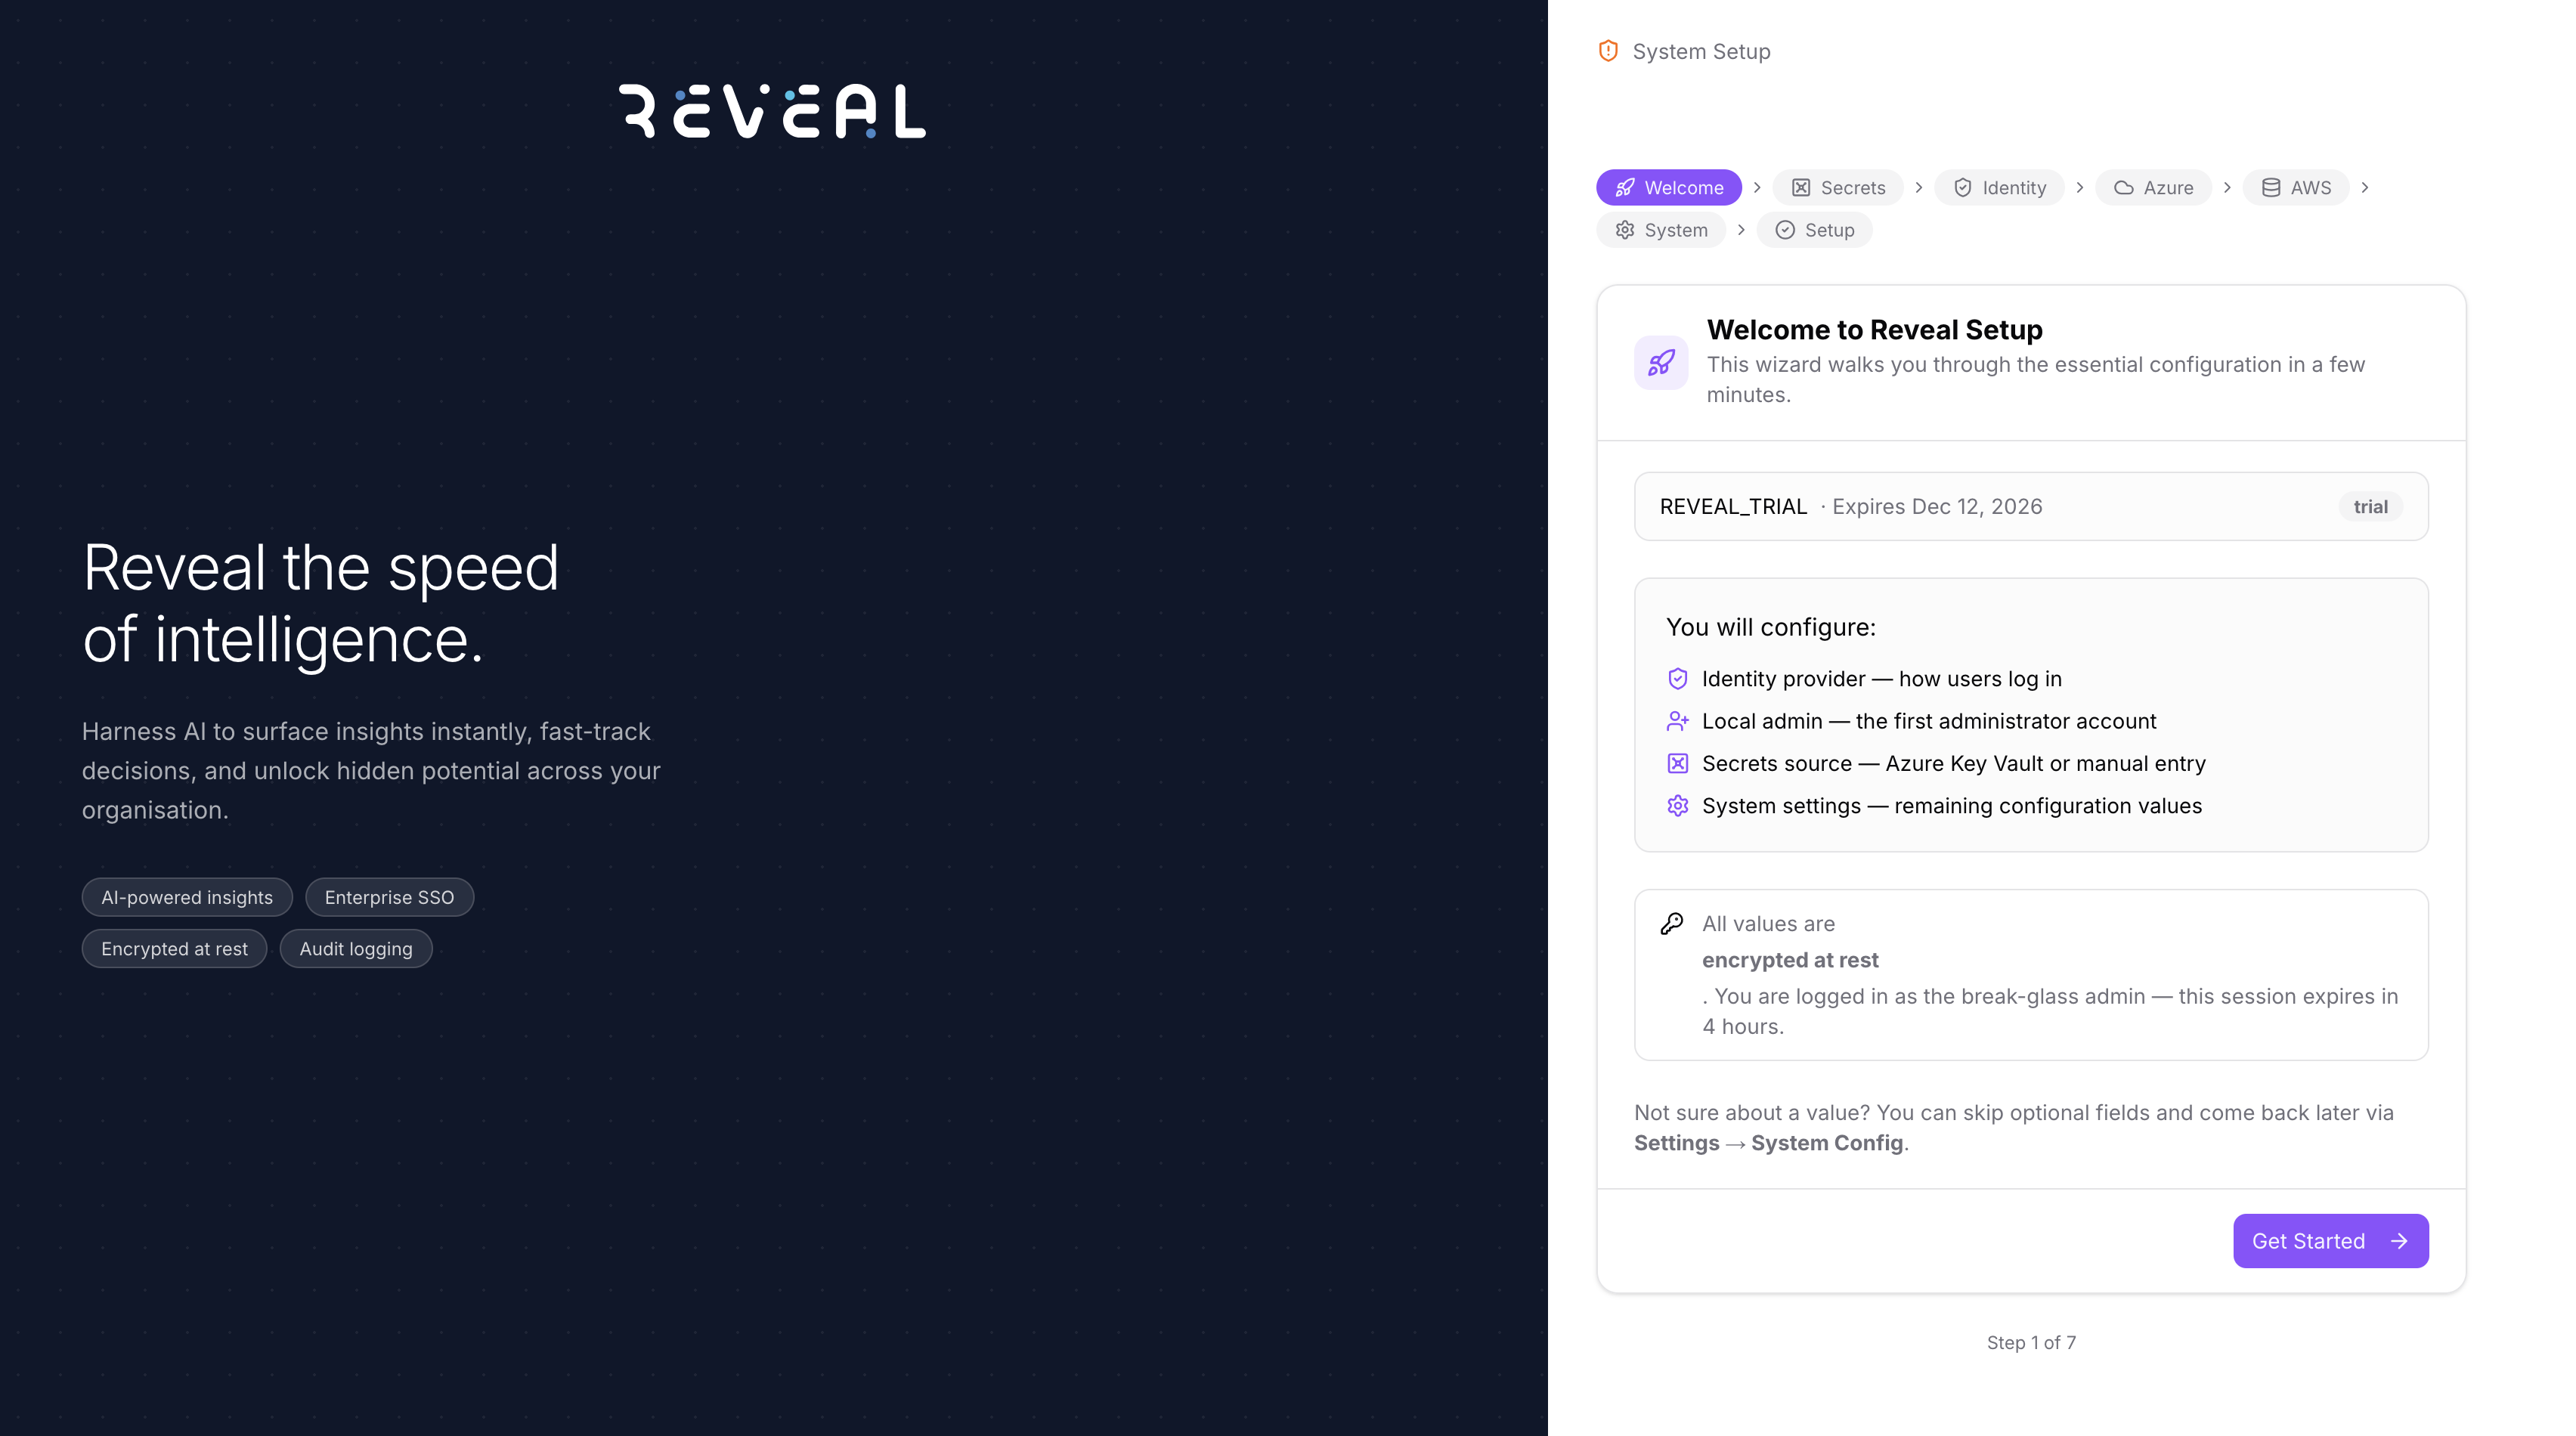
The wizard will configure:
- Identity provider — how users log in
- Local admin — the first administrator account
- Secrets source — Azure Key Vault or manual entry
- System settings — remaining configuration values
Click Get Started to begin.
All values entered in the wizard are encrypted at rest. Your break-glass session expires after 4 hours.
Step 2 — Secrets Source
Choose where Reveal stores and retrieves sensitive credentials.
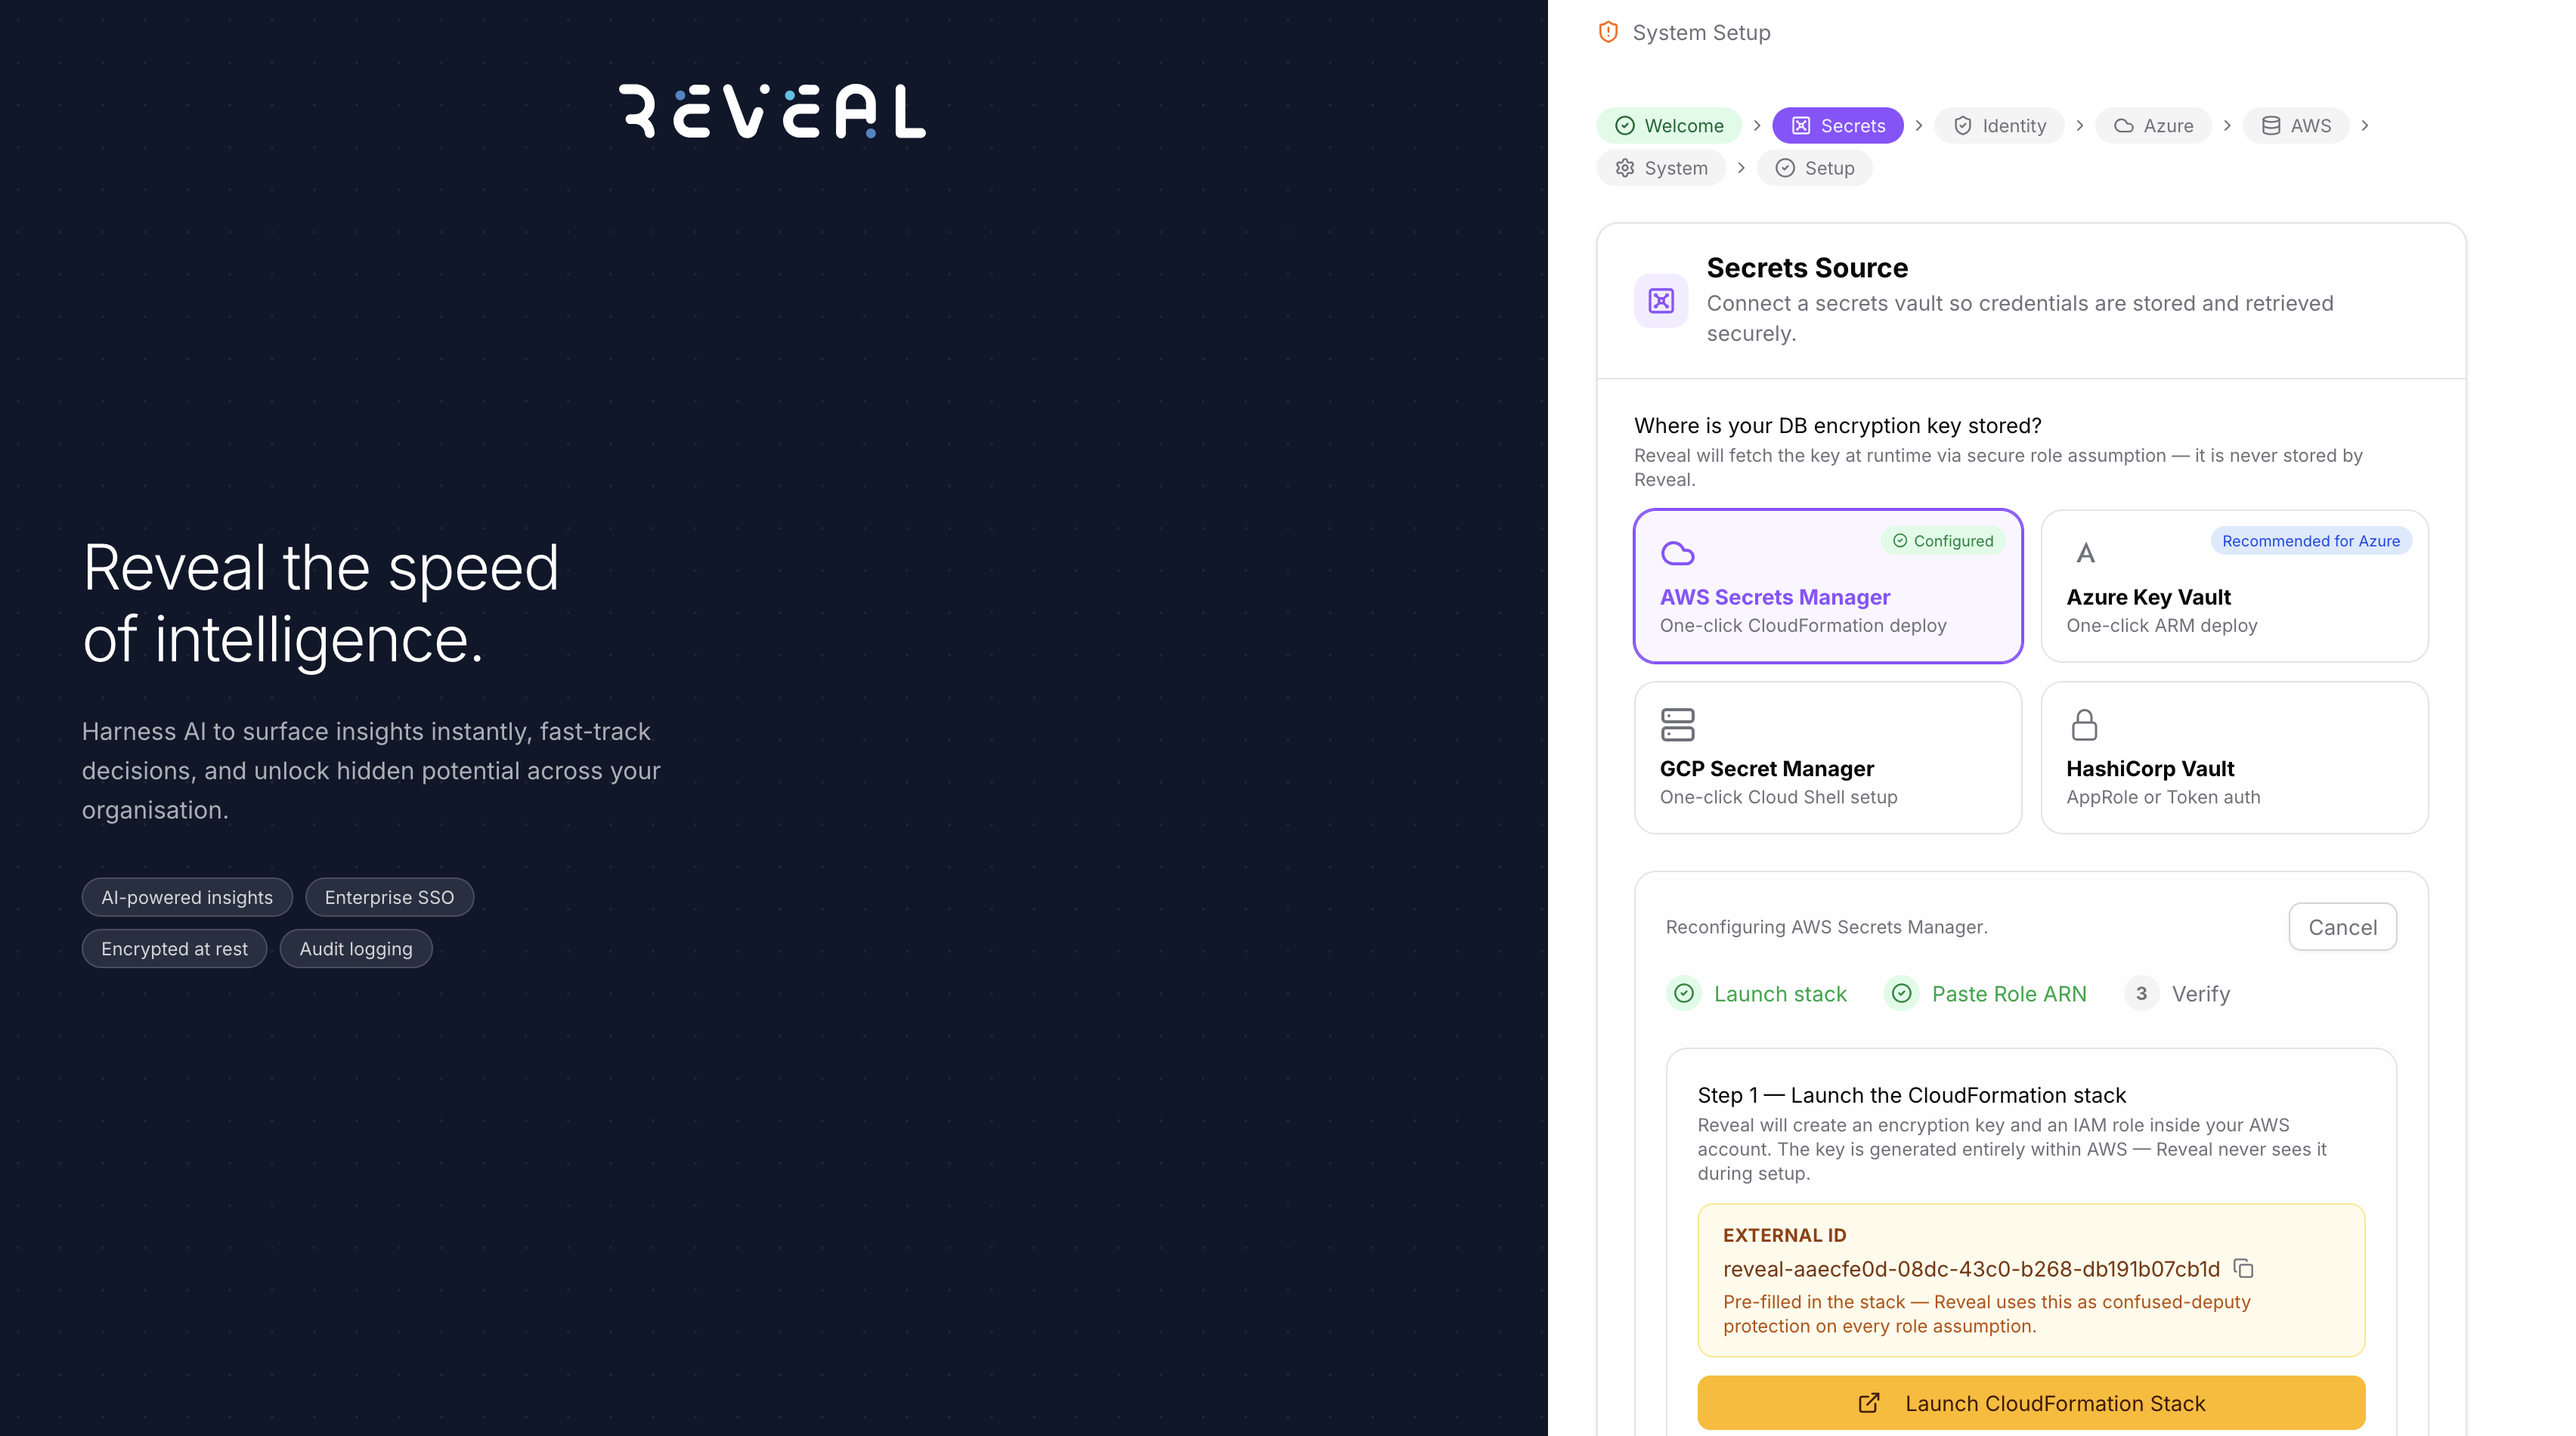
| Option | When to use |
|---|---|
| AWS Secrets Manager | You are running on AWS — one-click CloudFormation deploy |
| Azure Key Vault | You are running on Azure — one-click ARM deploy |
| GCP Secret Manager | You are running on GCP — one-click Cloud Shell setup |
| HashiCorp Vault | You have an existing HashiCorp Vault deployment |
Enter the connection details for your chosen vault and click Connect. Reveal tests the connection before proceeding.
Step 3 — Identity Provider
Choose how your users will log in to Reveal.
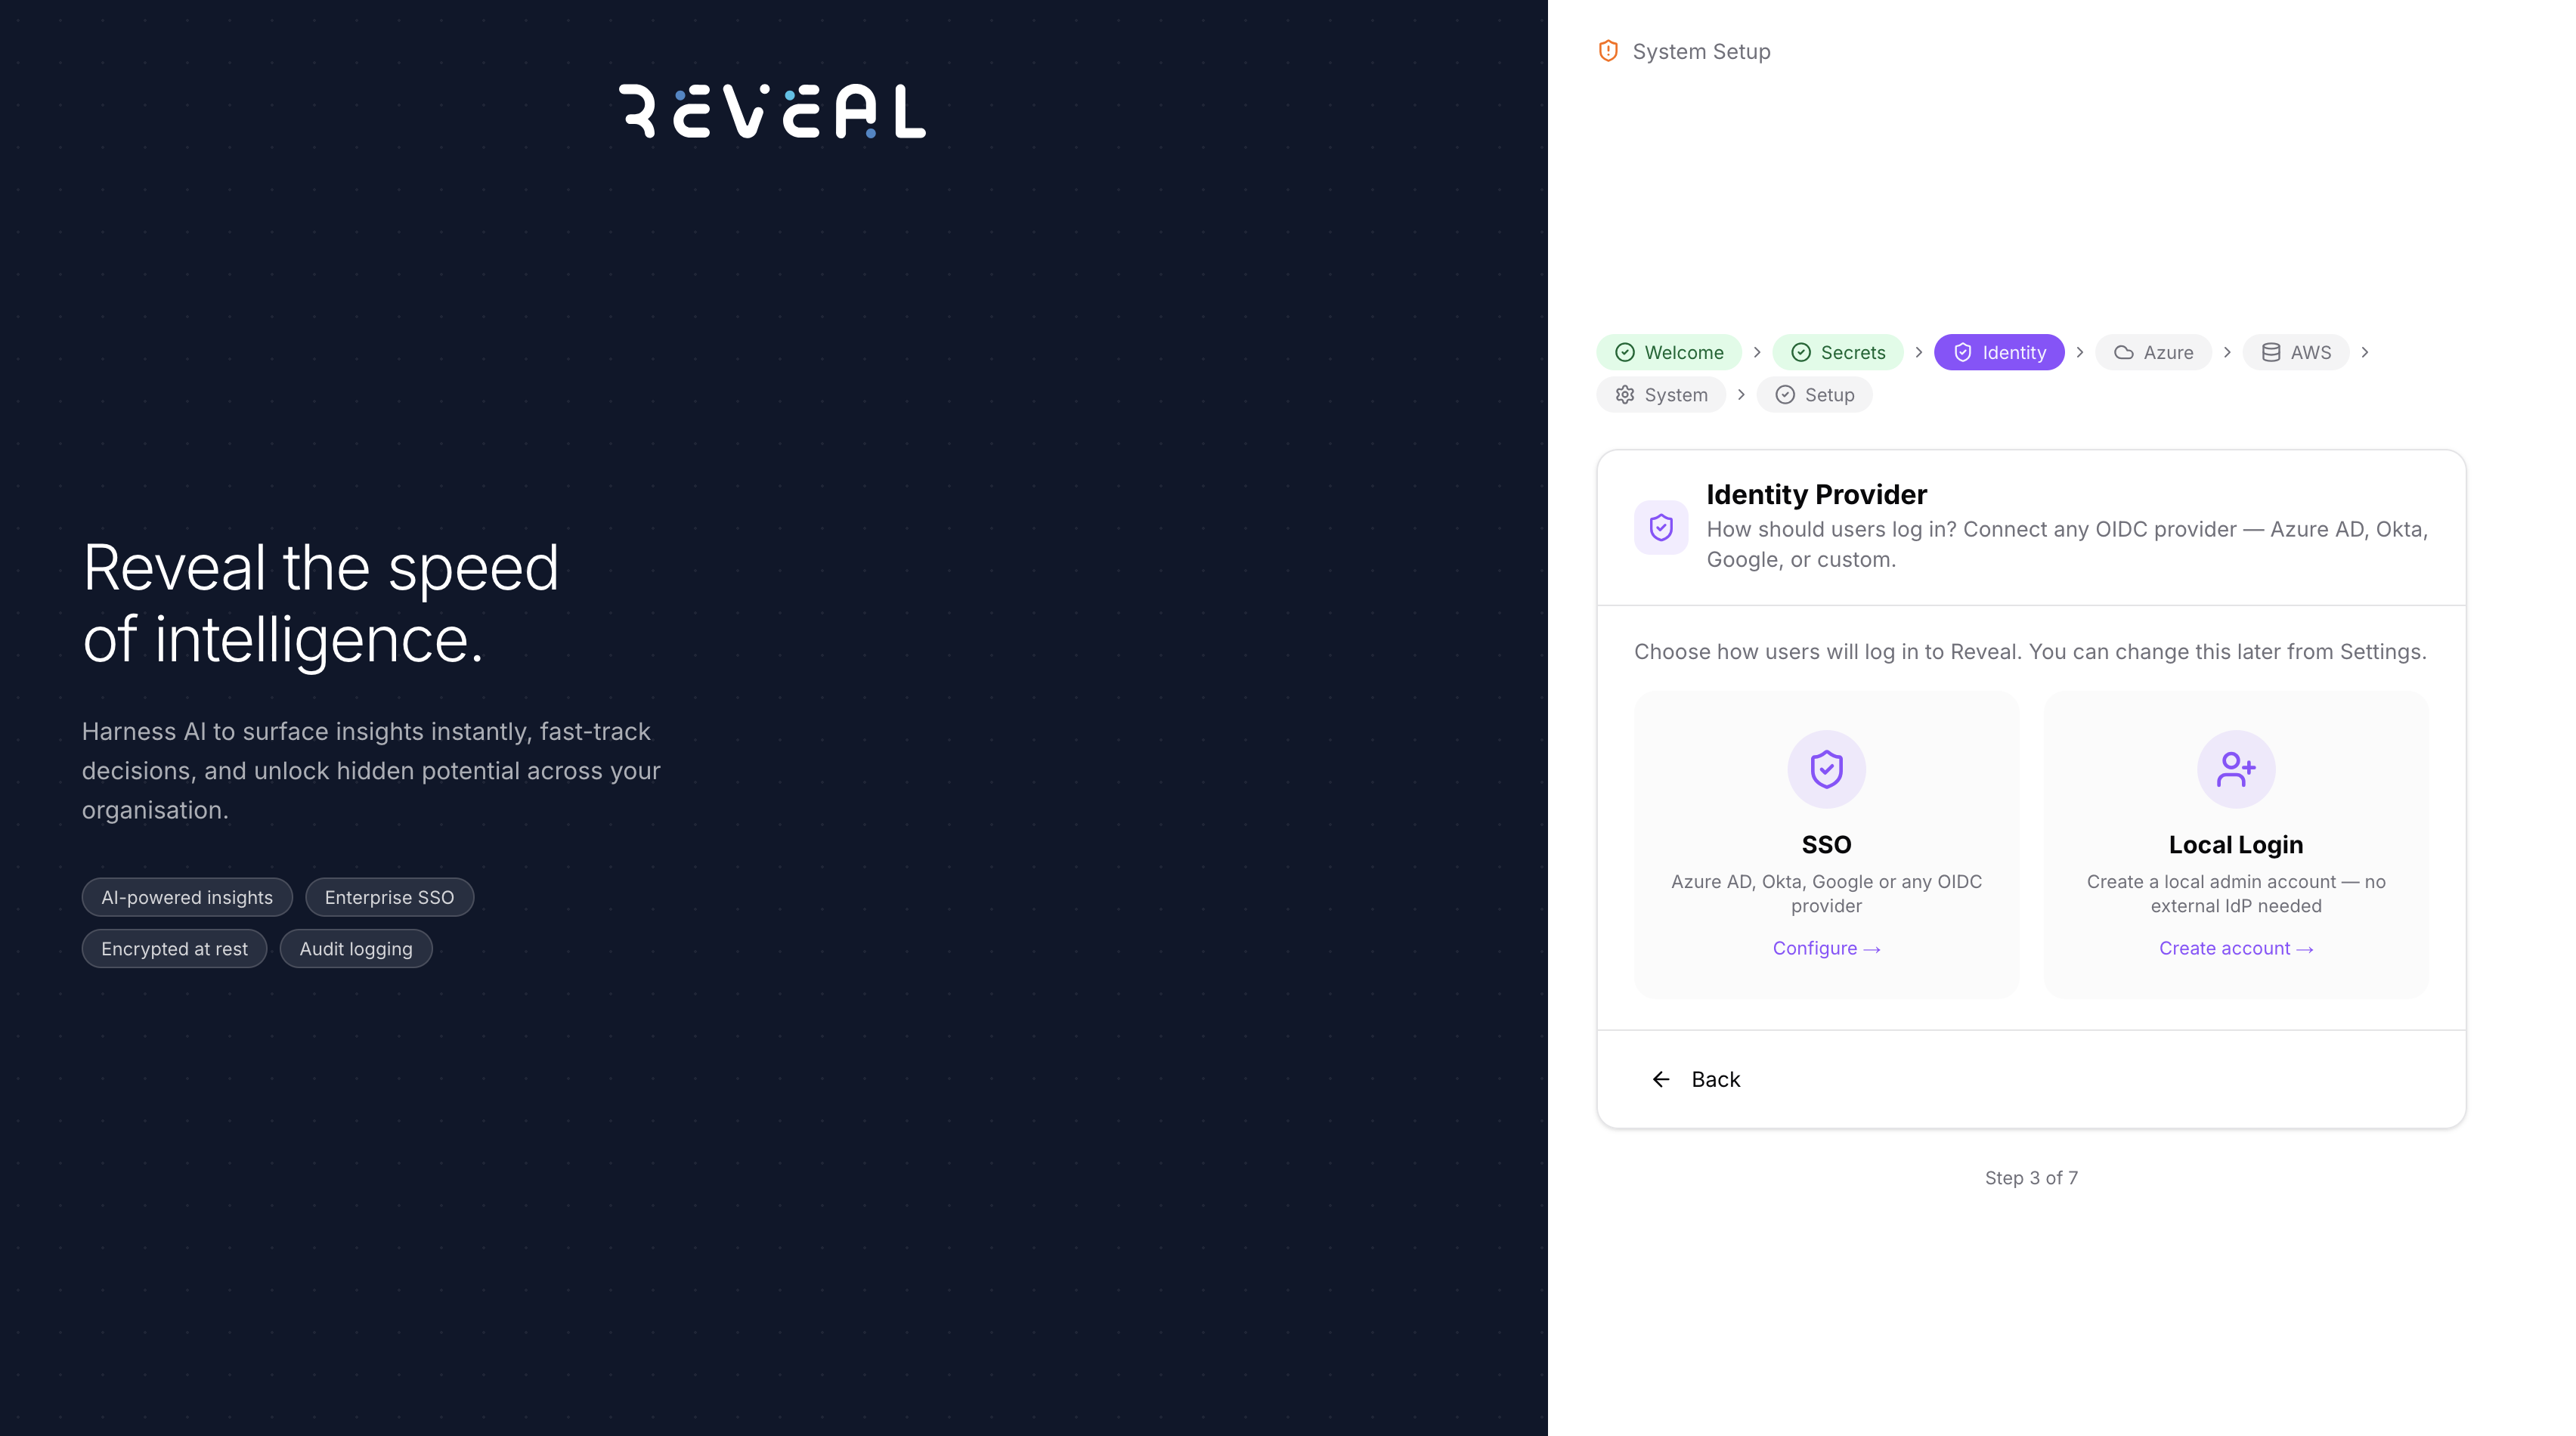
SSO (recommended)
Click the SSO card to configure an OIDC provider — Azure AD, Okta, Google, or any custom OIDC-compatible provider.
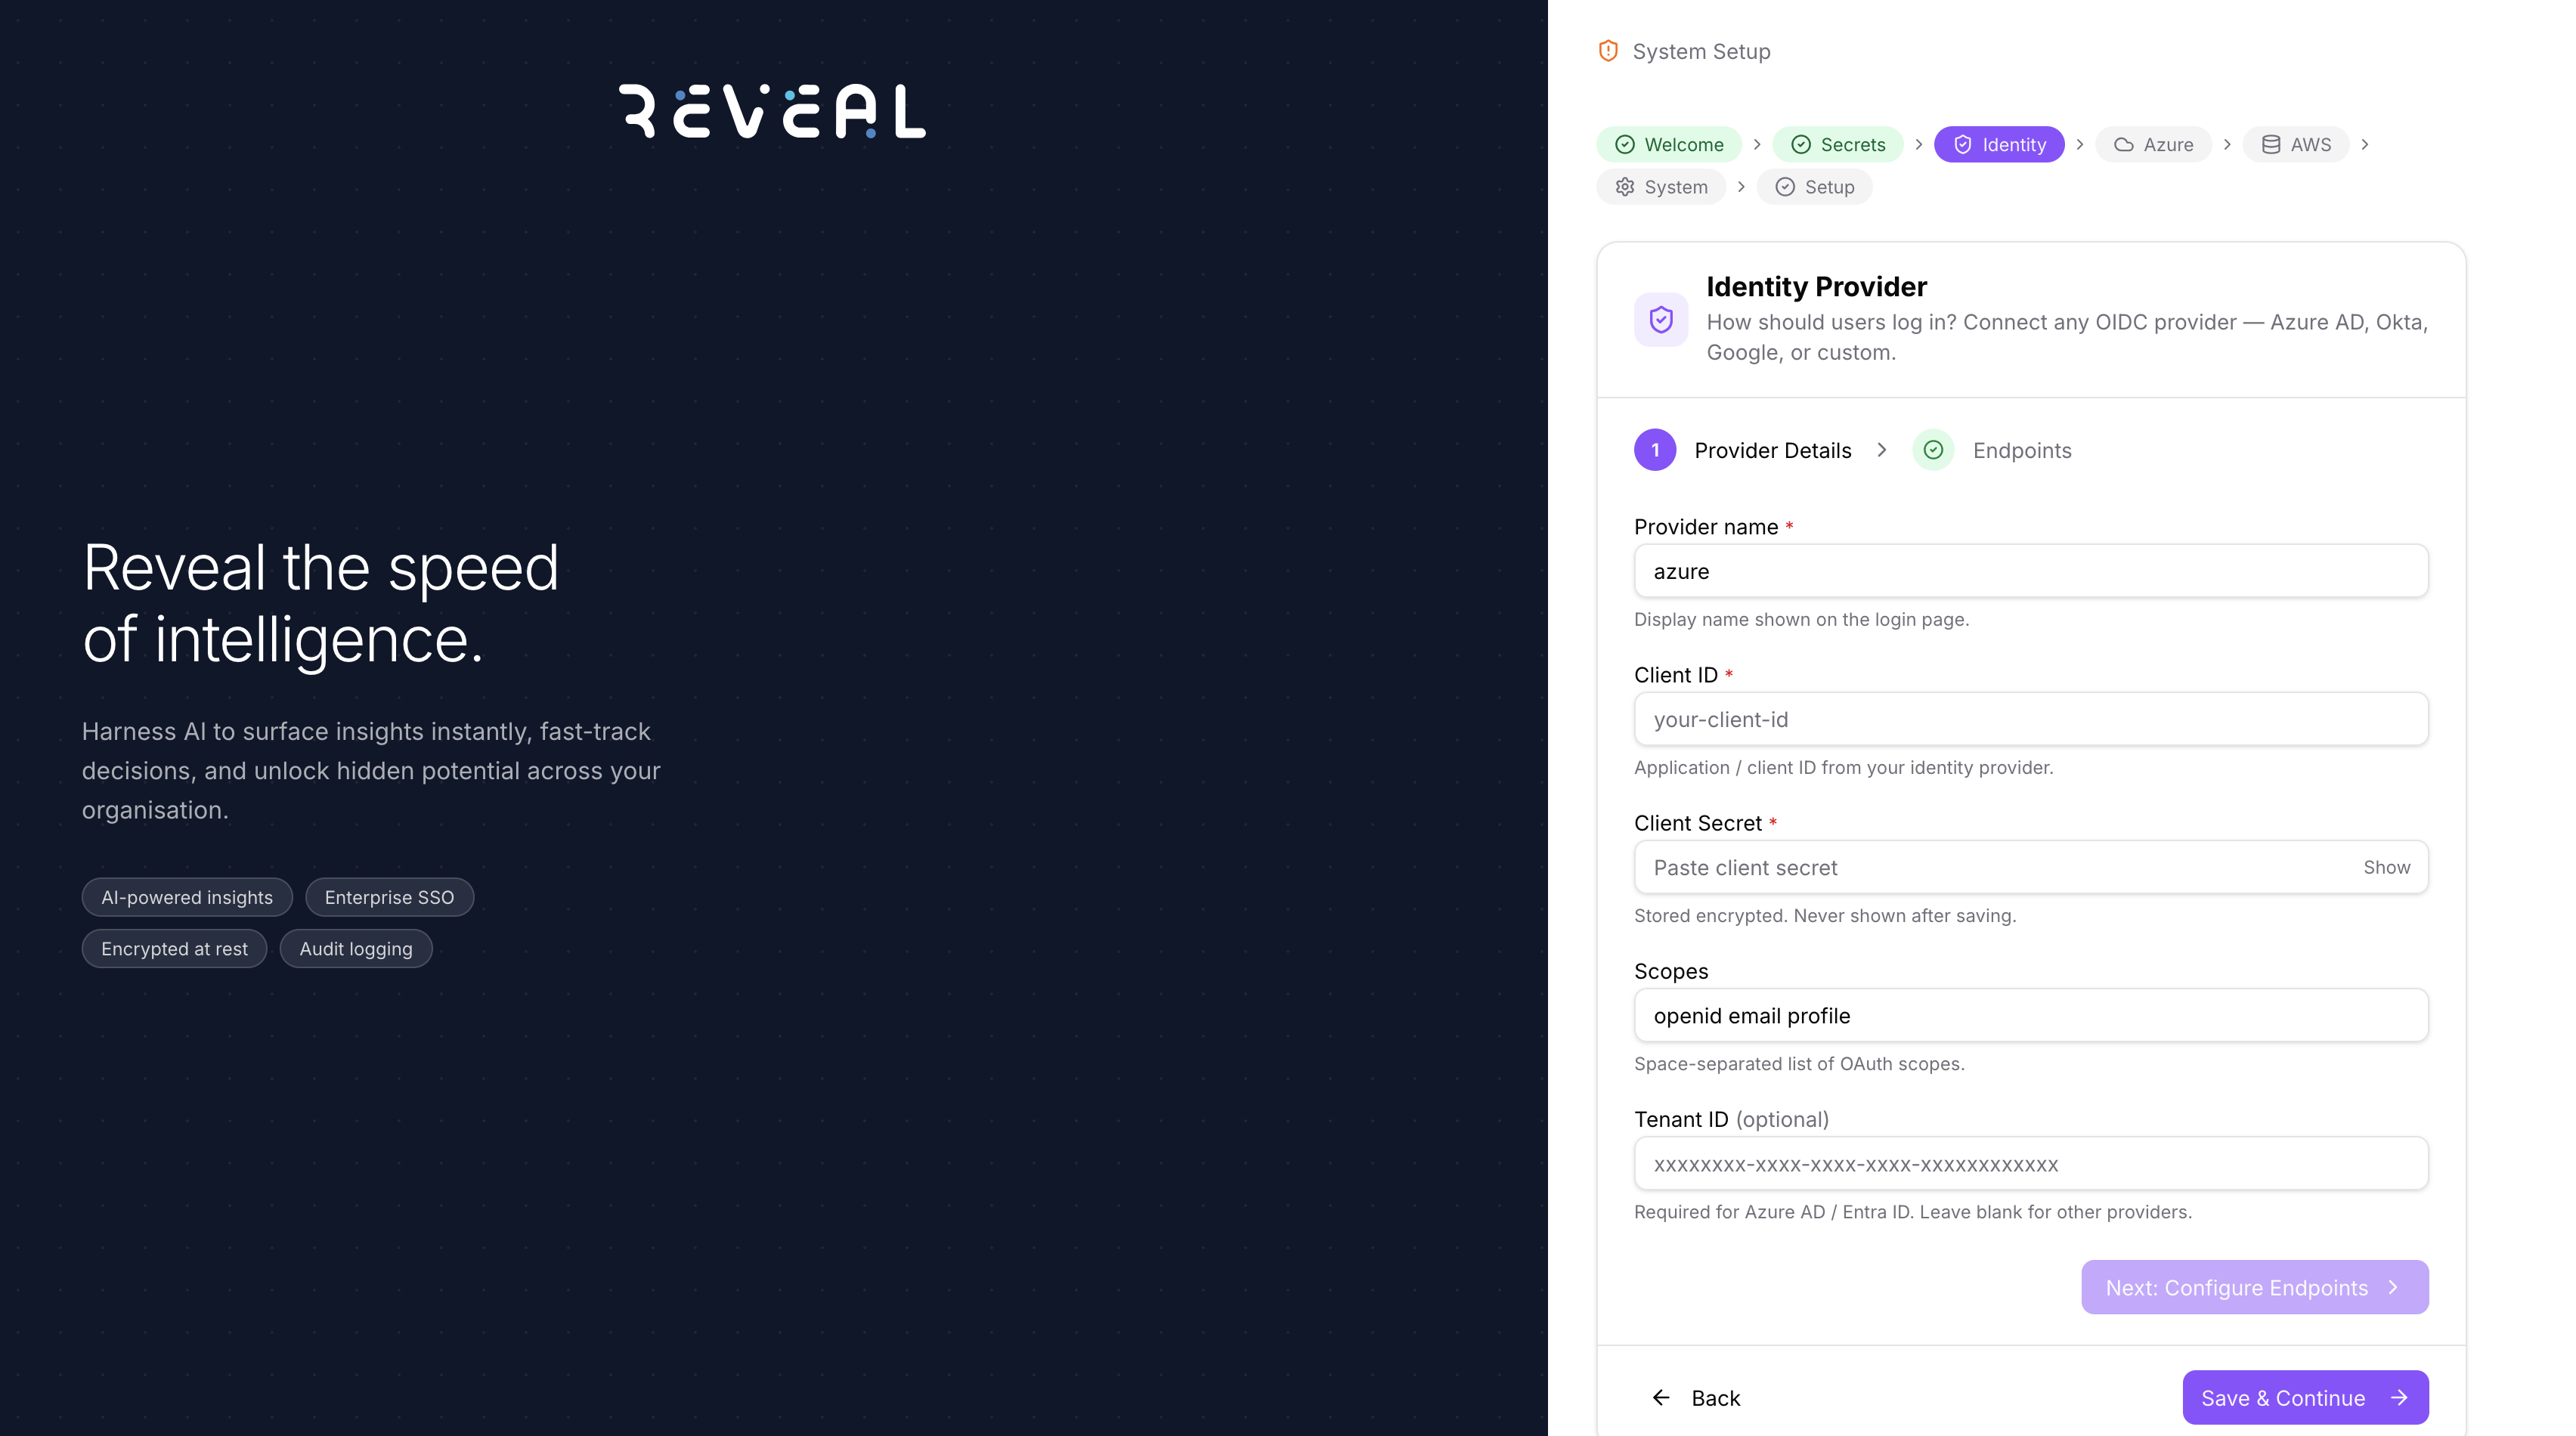
Fill in the Provider Details:
| Field | Description |
|---|---|
| Provider name | Display name shown on the login page (e.g. azure, okta) |
| Client ID | Application / client ID from your identity provider |
| Client Secret | Client secret — stored encrypted, never shown again |
| Scopes | Space-separated OAuth scopes (default: openid email profile) |
| Tenant ID | Required for Azure AD / Entra ID; leave blank for other providers |
Click Next: Configure Endpoints → then paste your provider's issuer URL and click Fetch to auto-fill all endpoint fields, or enter them manually.
Local Login
Click the Local Login card to skip SSO and create a local admin account. You can always add an SSO provider later from Settings → System Config.
Step 4 — Create Local Admin
If you chose Local Login in the previous step, create the first administrator account here.
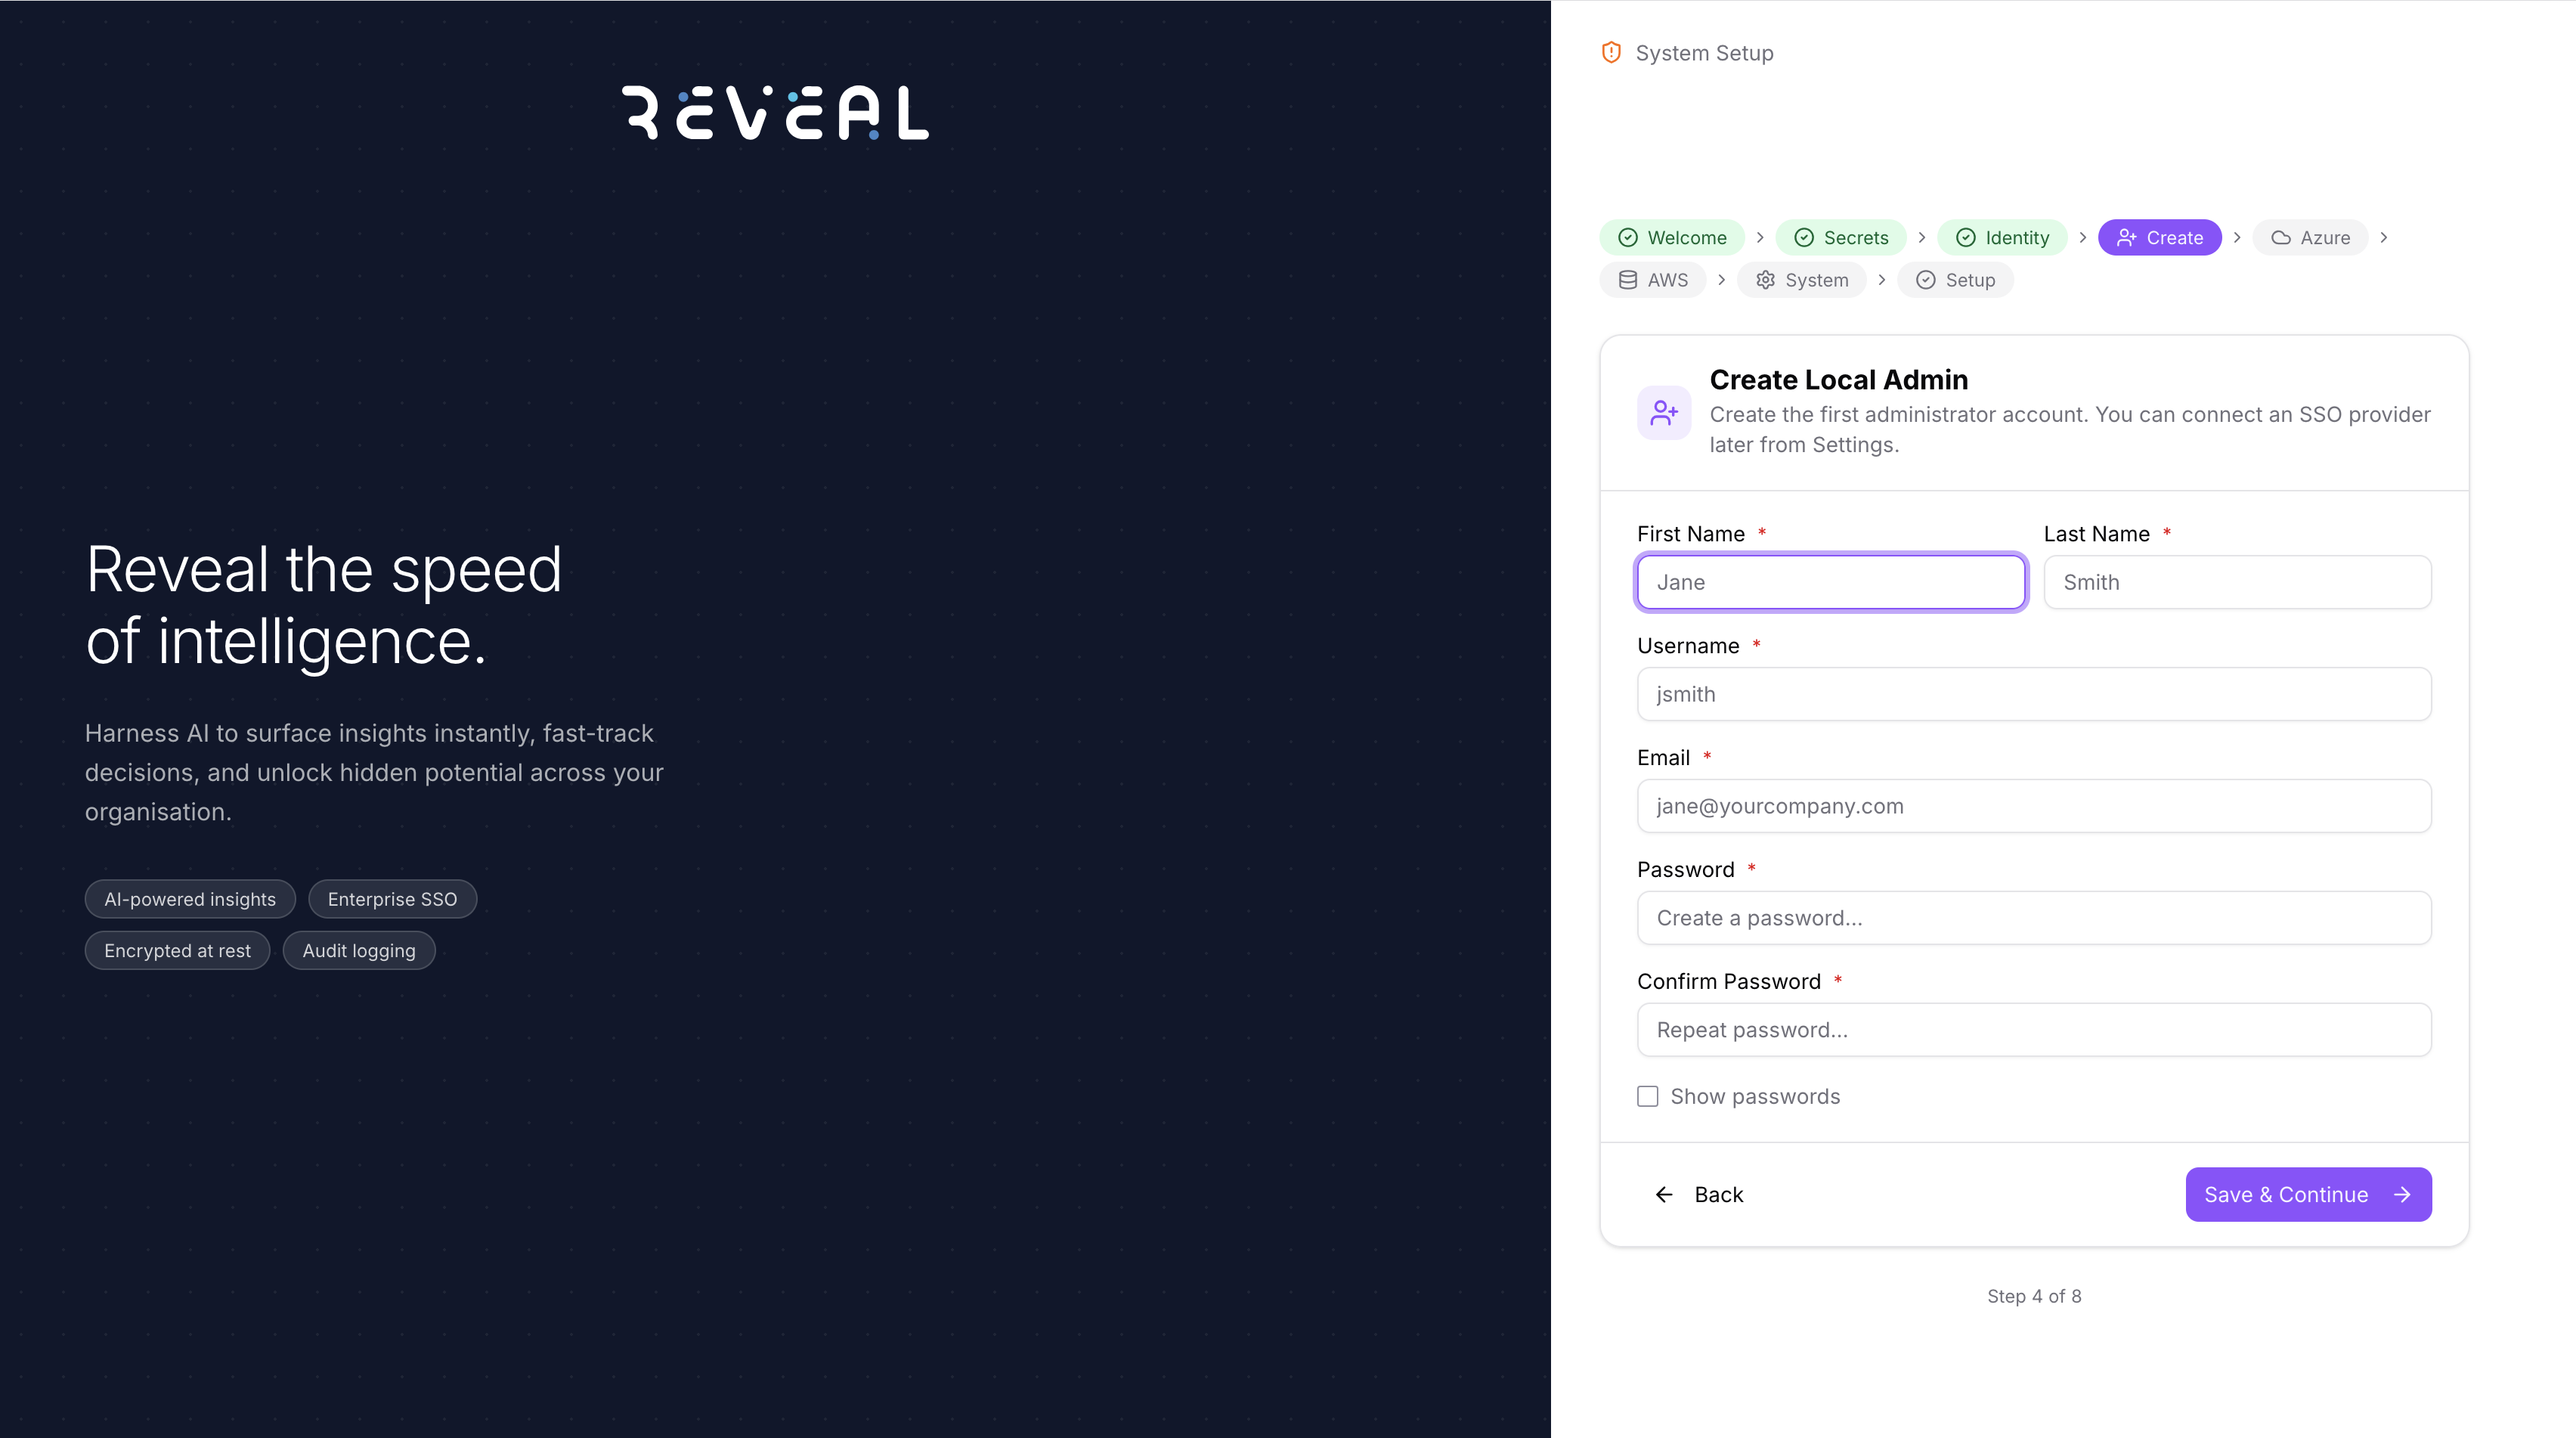
Fill in the First Name, Last Name, Username, Email, and Password for the initial admin account. This account is used to log in at /auth/local until SSO is configured.
Step 5 — Azure Resources
Deploy the Azure infrastructure Reveal needs, or connect existing resources.
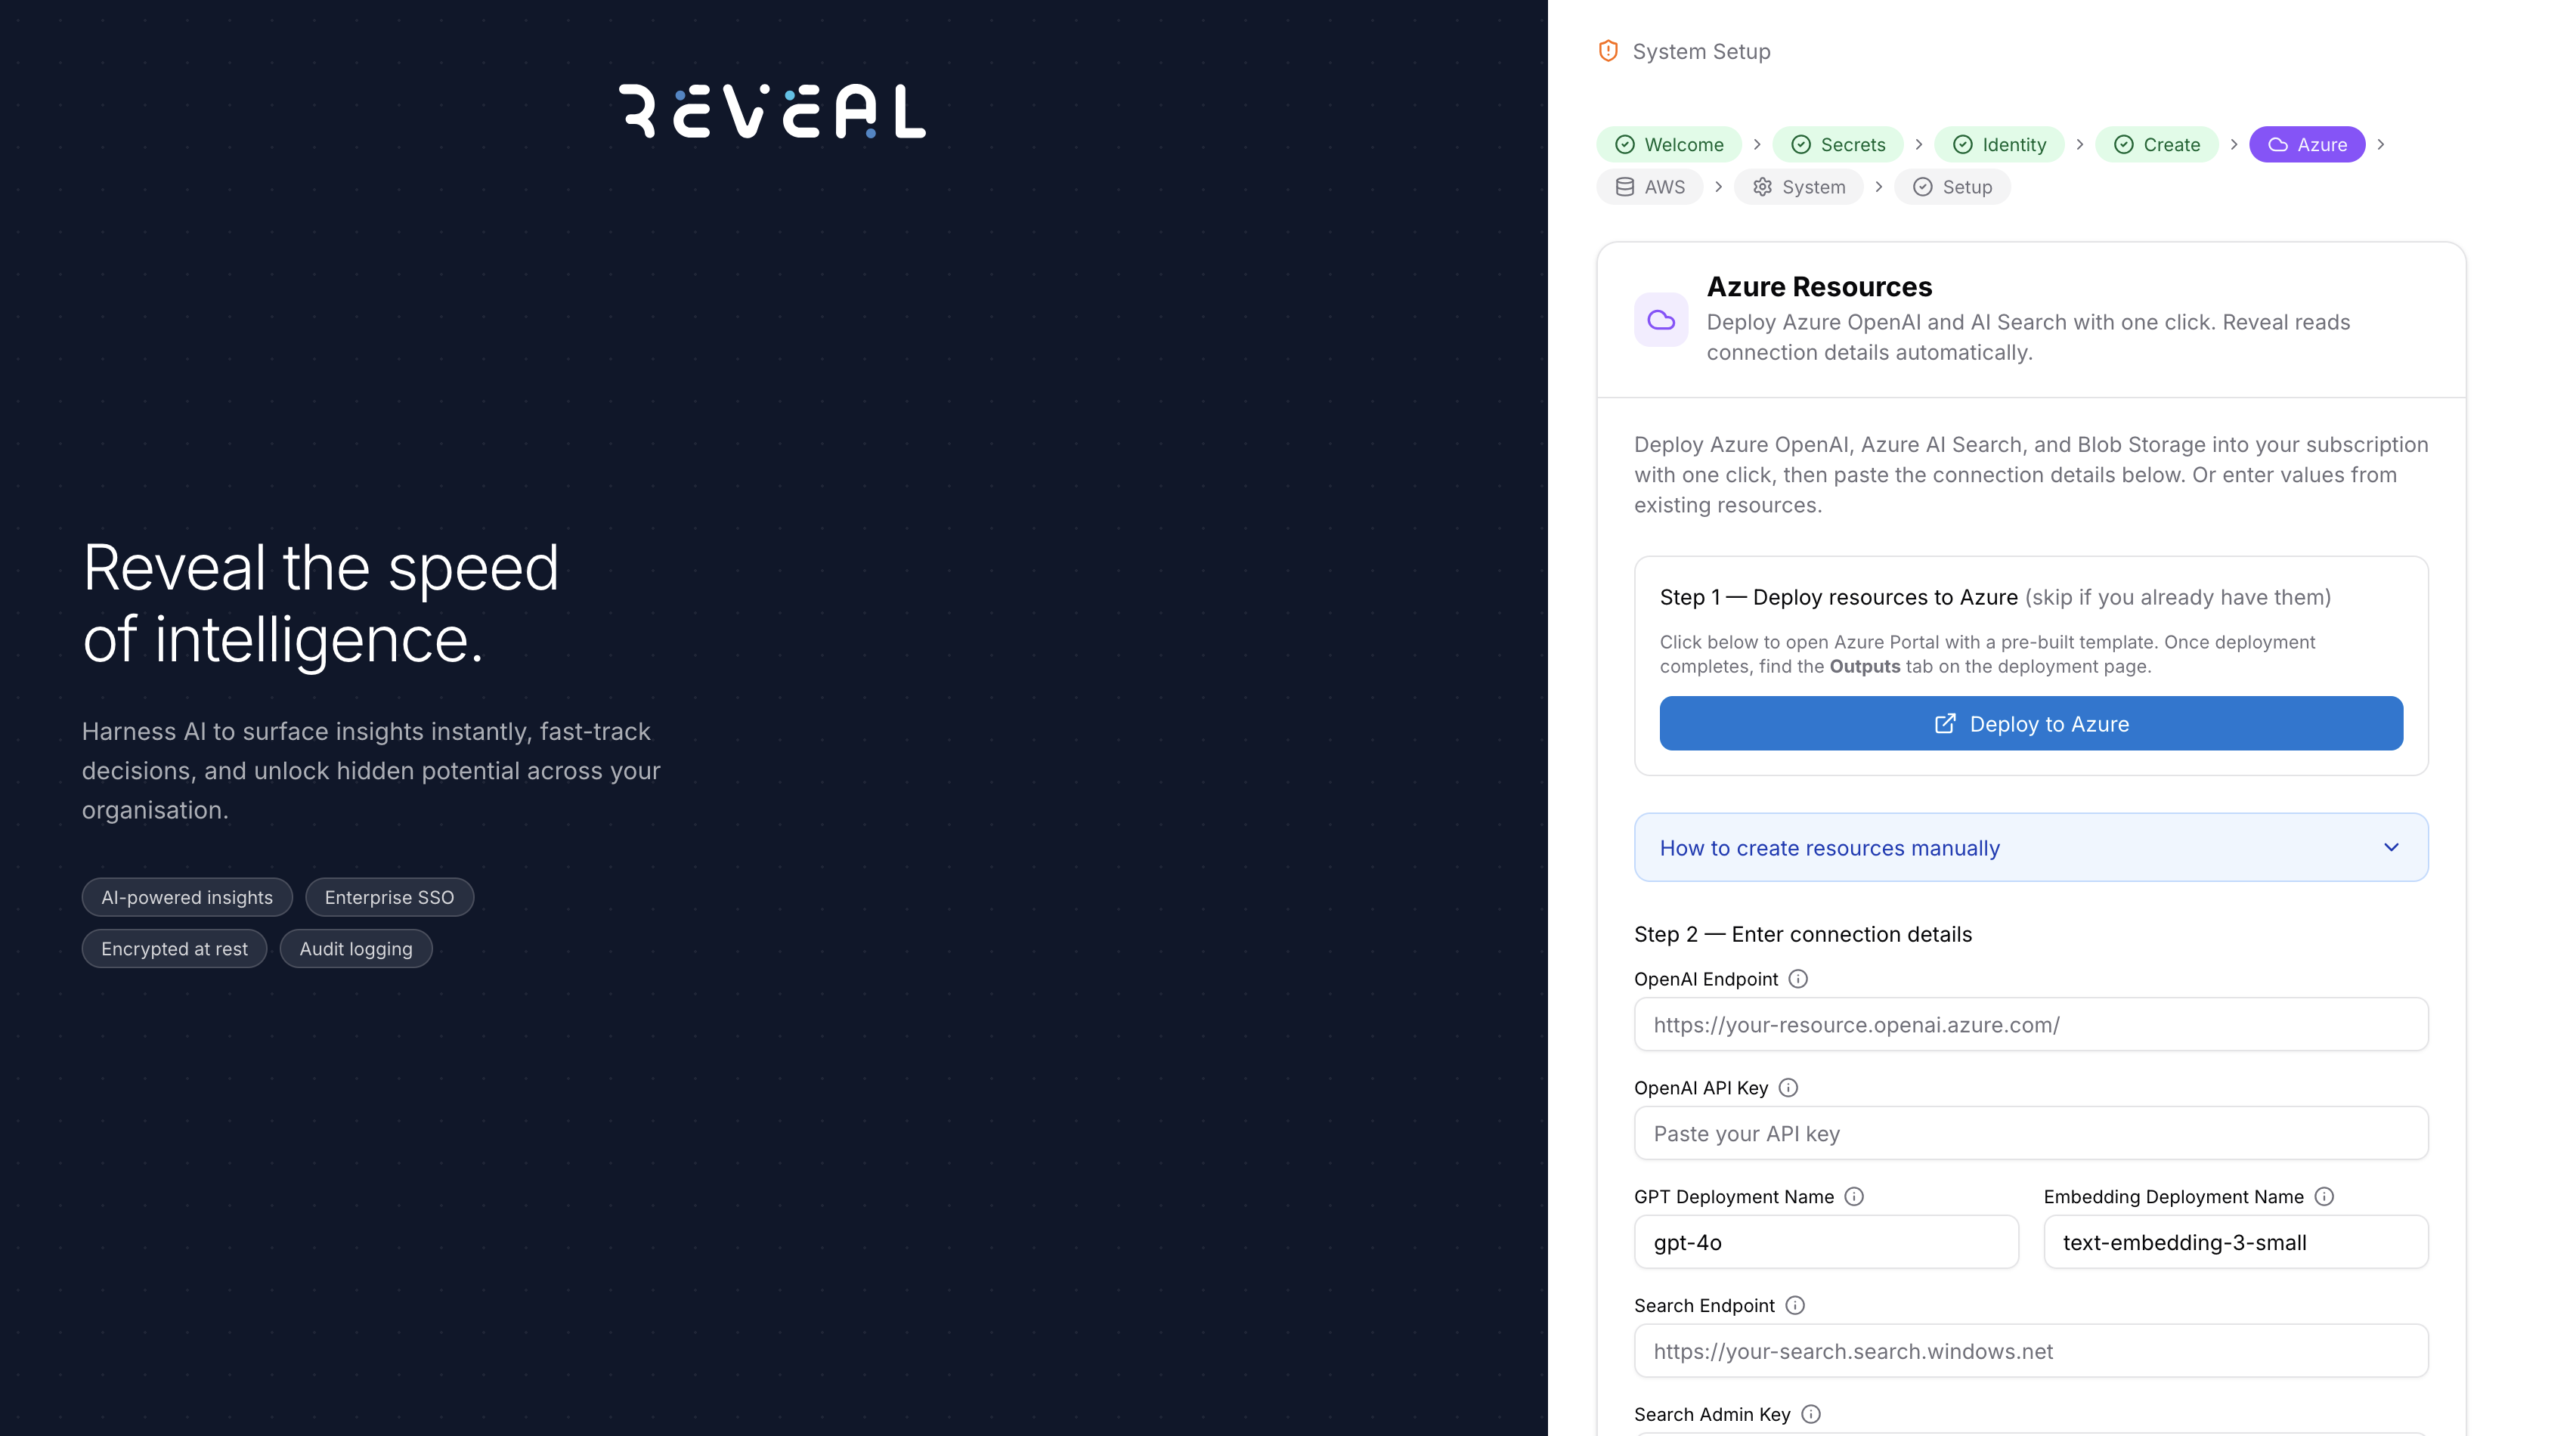
Step 1 — Deploy resources to Azure (skip if you already have them)
Click Deploy to Azure to open the Azure Portal with a pre-built ARM template. The template creates:
- Azure OpenAI resource with GPT and embedding model deployments
- Azure AI Search service
- Azure Blob Storage account and container
Step 2 — Enter connection details
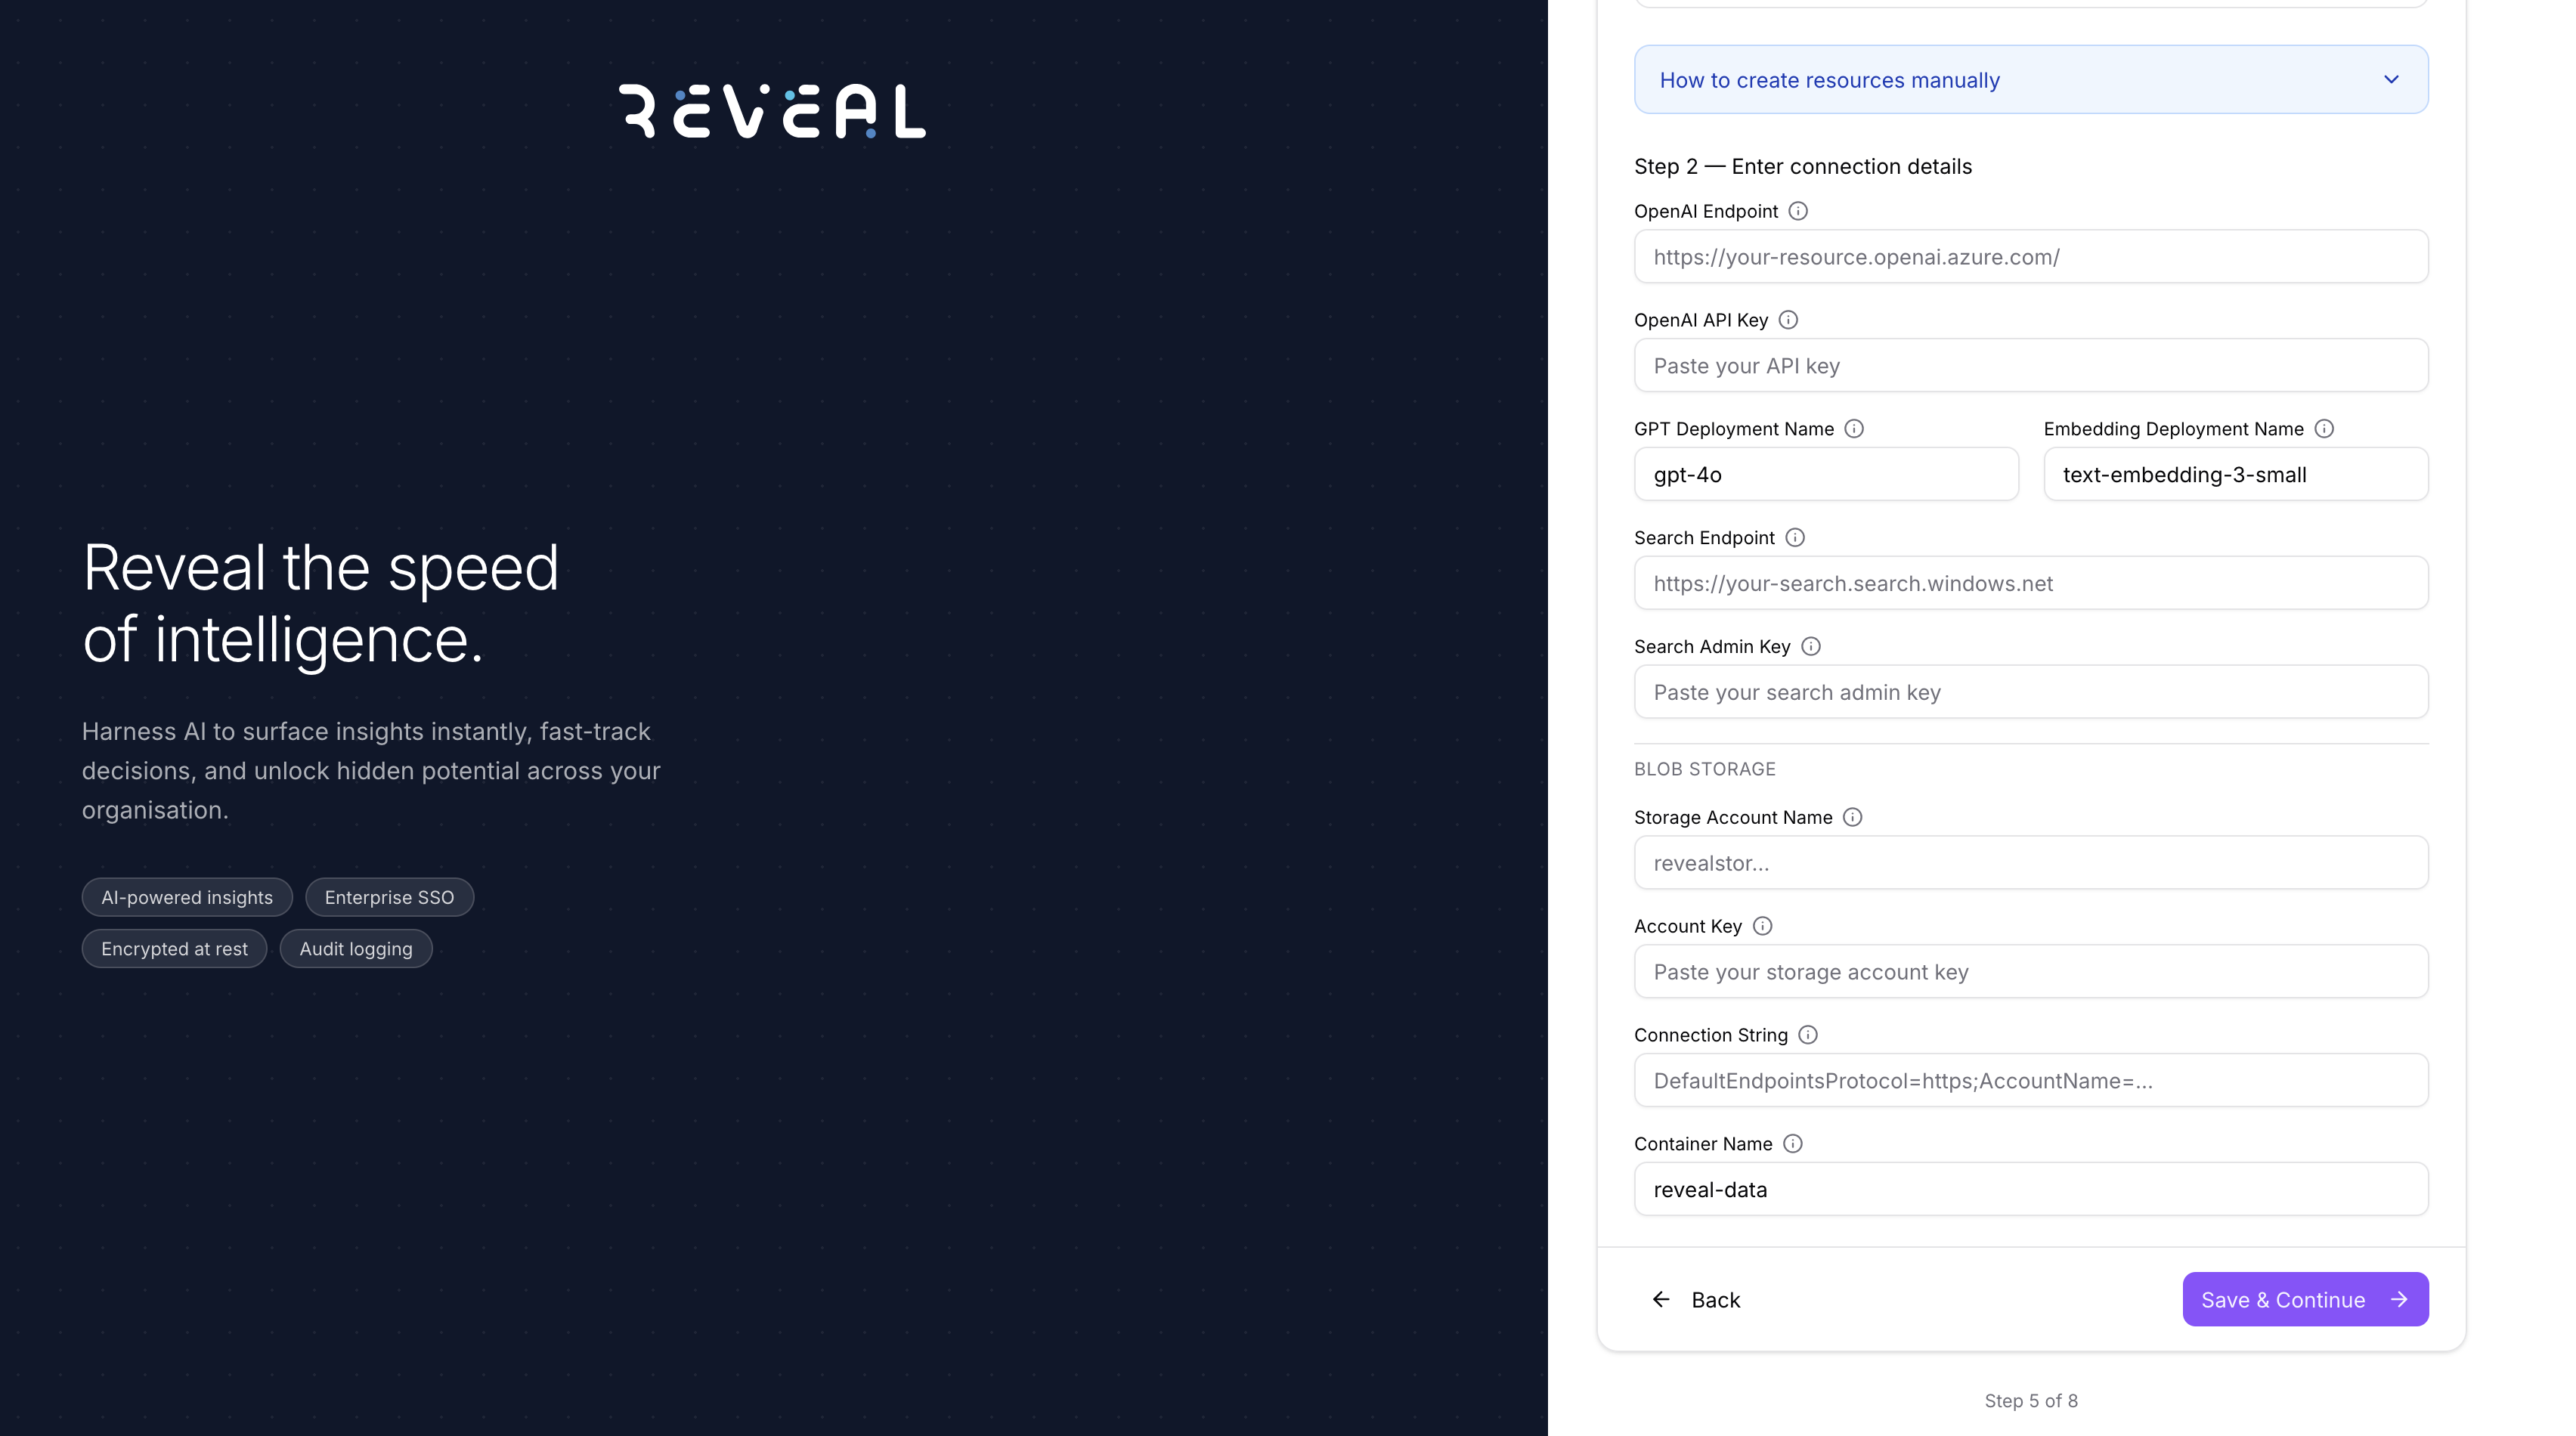
Once deployment completes, paste the values into the form:
| Field | Where to find it |
|---|---|
| OpenAI Endpoint | Azure Portal → OpenAI resource → Keys and Endpoint |
| OpenAI API Key | Azure Portal → OpenAI resource → Keys and Endpoint |
| GPT Deployment Name | Azure OpenAI Studio → Deployments (e.g. gpt-4o) |
| Embedding Deployment Name | Azure OpenAI Studio → Deployments (e.g. text-embedding-3-small) |
| Search Endpoint | Azure Portal → AI Search resource → Overview → URL |
| Search Admin Key | Azure Portal → AI Search resource → Settings → Keys |
| Storage Account Name | Azure Portal → Storage account → Overview |
| Account Key | Azure Portal → Storage account → Access keys → key1 |
| Connection String | Azure Portal → Storage account → Access keys → Connection string |
| Container Name | The blob container name (default: reveal-data) |
Click Save & Continue when all fields are filled.
Step 6 — AWS S3 Storage
Configure AWS credentials and S3 buckets used across Reveal.
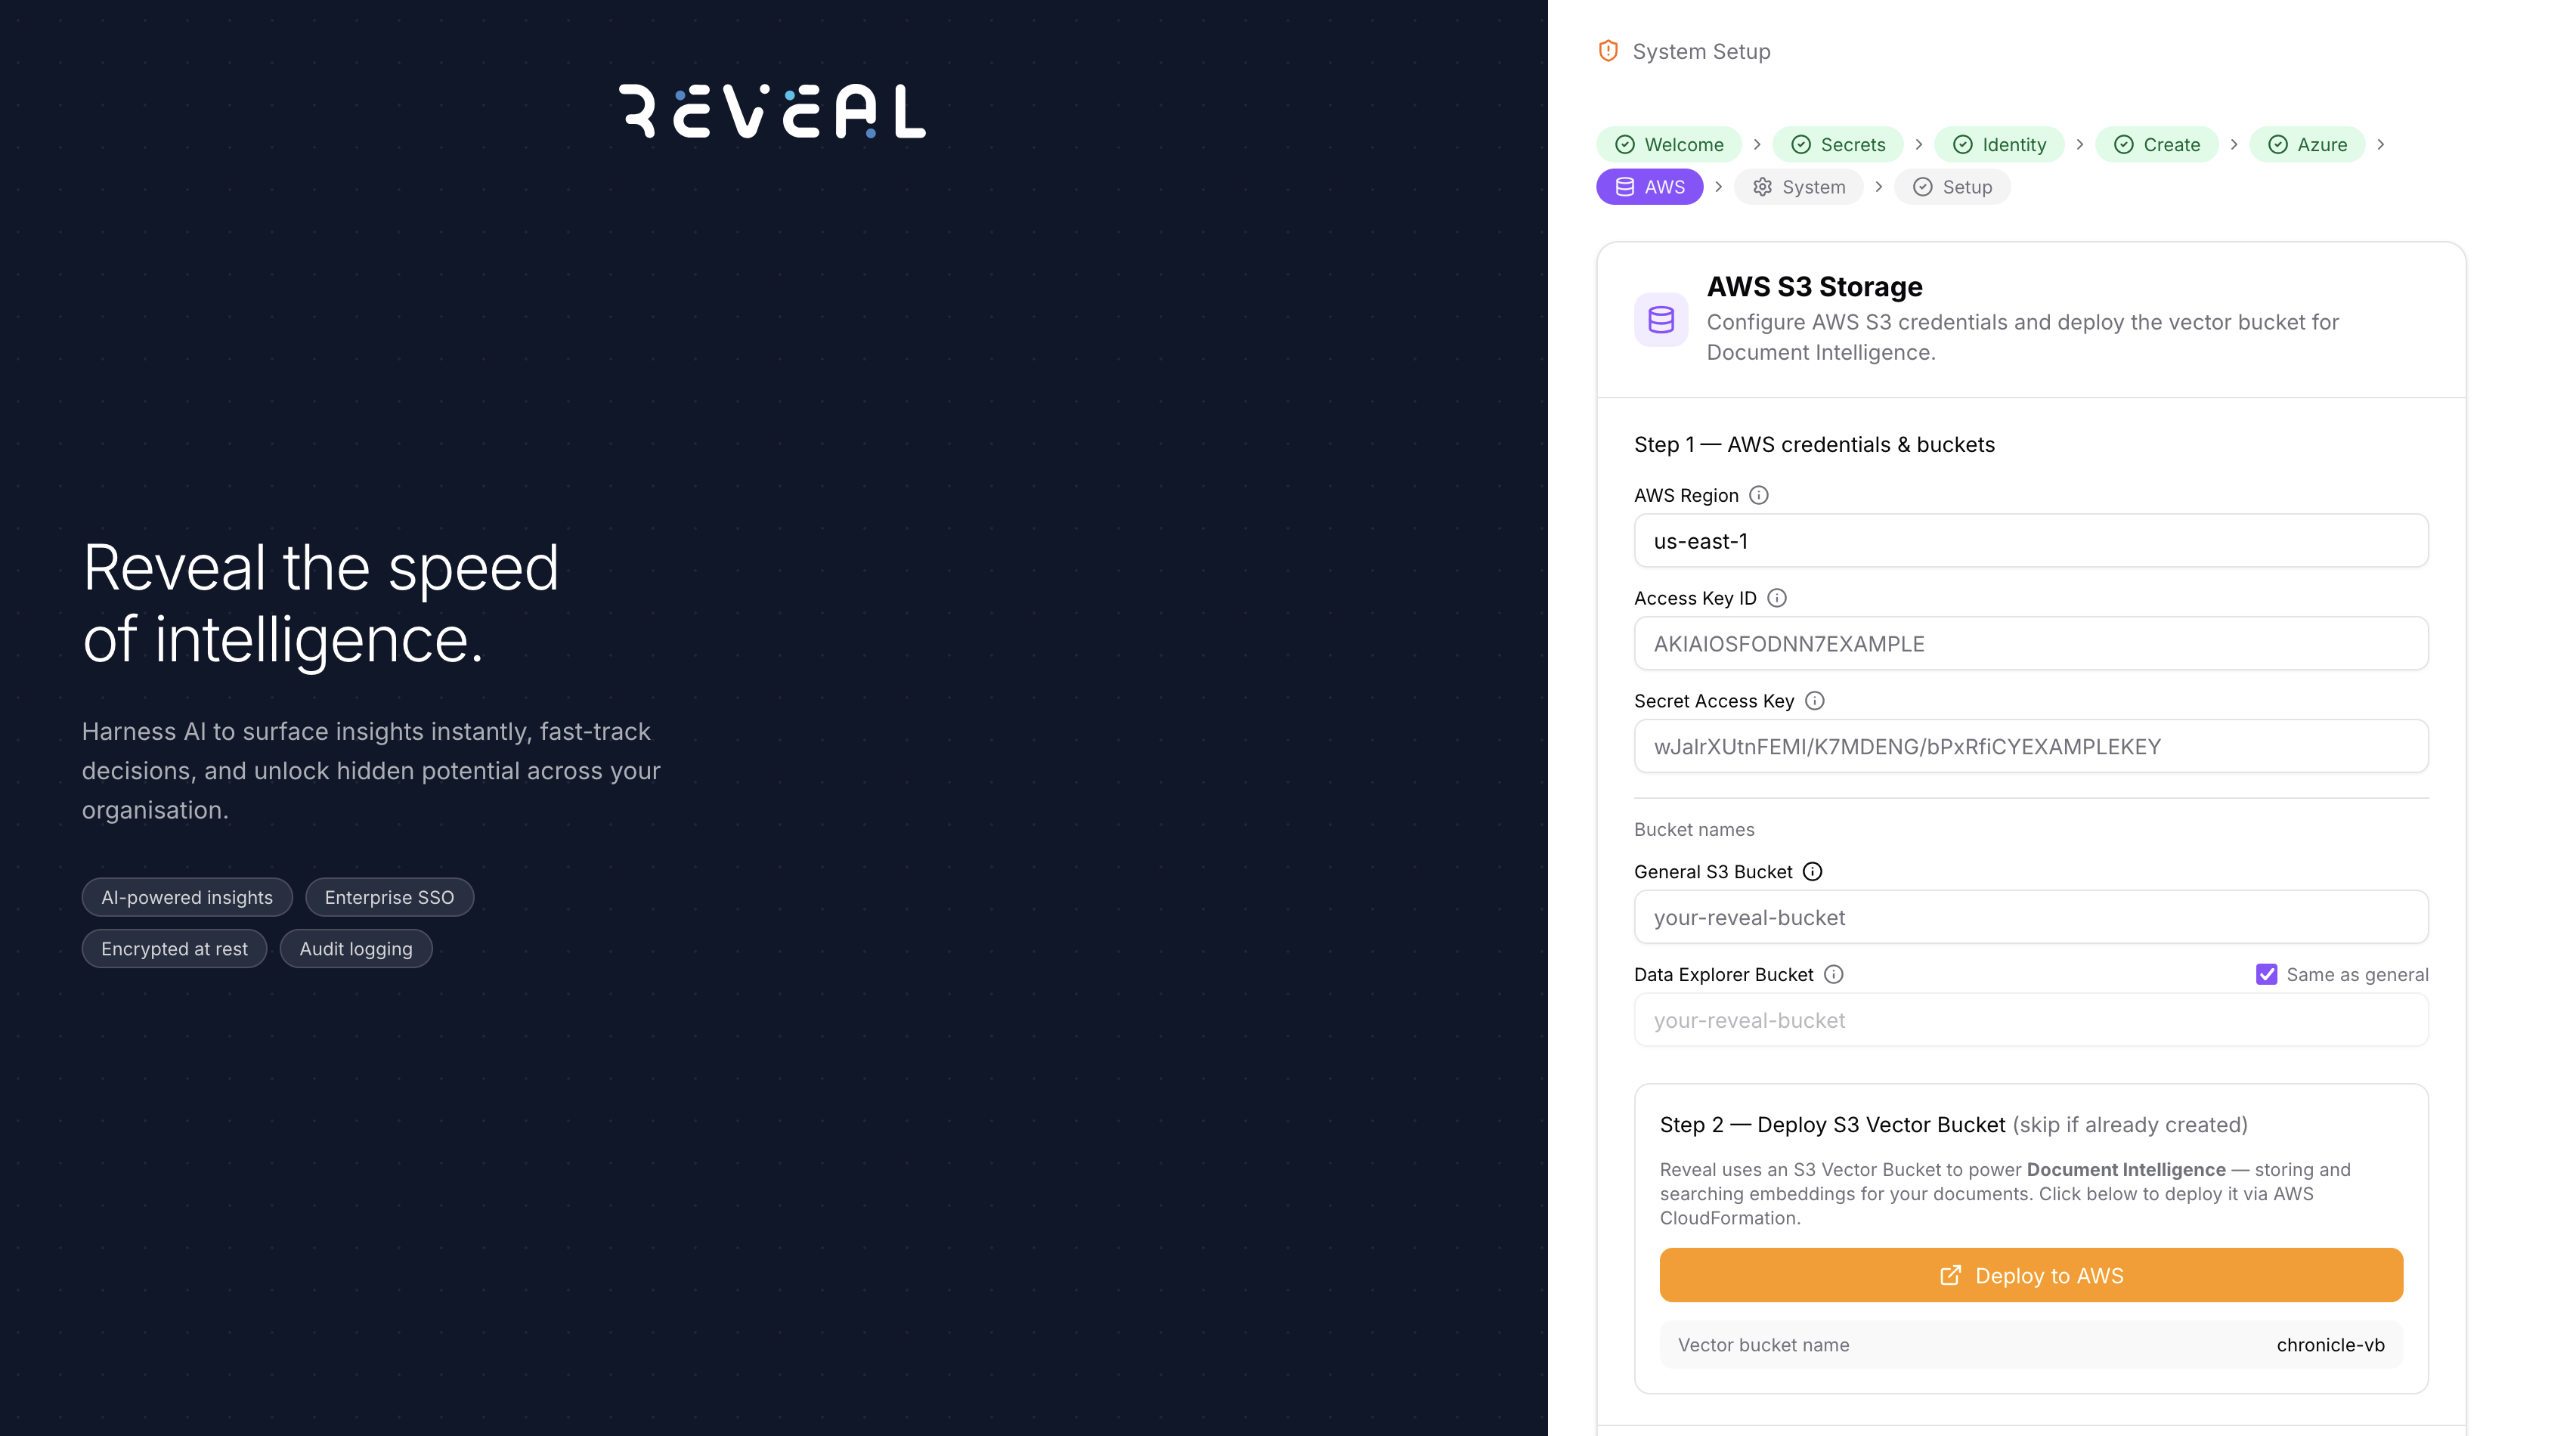
Step 1 — AWS credentials & buckets
| Field | Description |
|---|---|
| AWS Region | Region your buckets are in (e.g. us-east-1) |
| Access Key ID | IAM user access key ID |
| Secret Access Key | IAM user secret key — stored encrypted |
| General S3 Bucket | Used for AI scan reports, profile pictures, and PPT exports |
| Data Explorer Bucket | Used for documents uploaded via Data Explorer (tick Same as general to reuse the General bucket) |
Step 2 — Deploy S3 Vector Bucket (skip if already created)
Reveal uses an S3 Vector Bucket to power Cloud Storage — storing and searching embeddings for your documents. Click Deploy to AWS to create it via CloudFormation. The vector bucket name is fixed as chronicle-vb.
The vector bucket is required for Cloud Storage and DocLens to function.
Step 7 — System Settings
Review all remaining configuration values. The page shows how many of the 133 settings are configured, grouped into six categories:
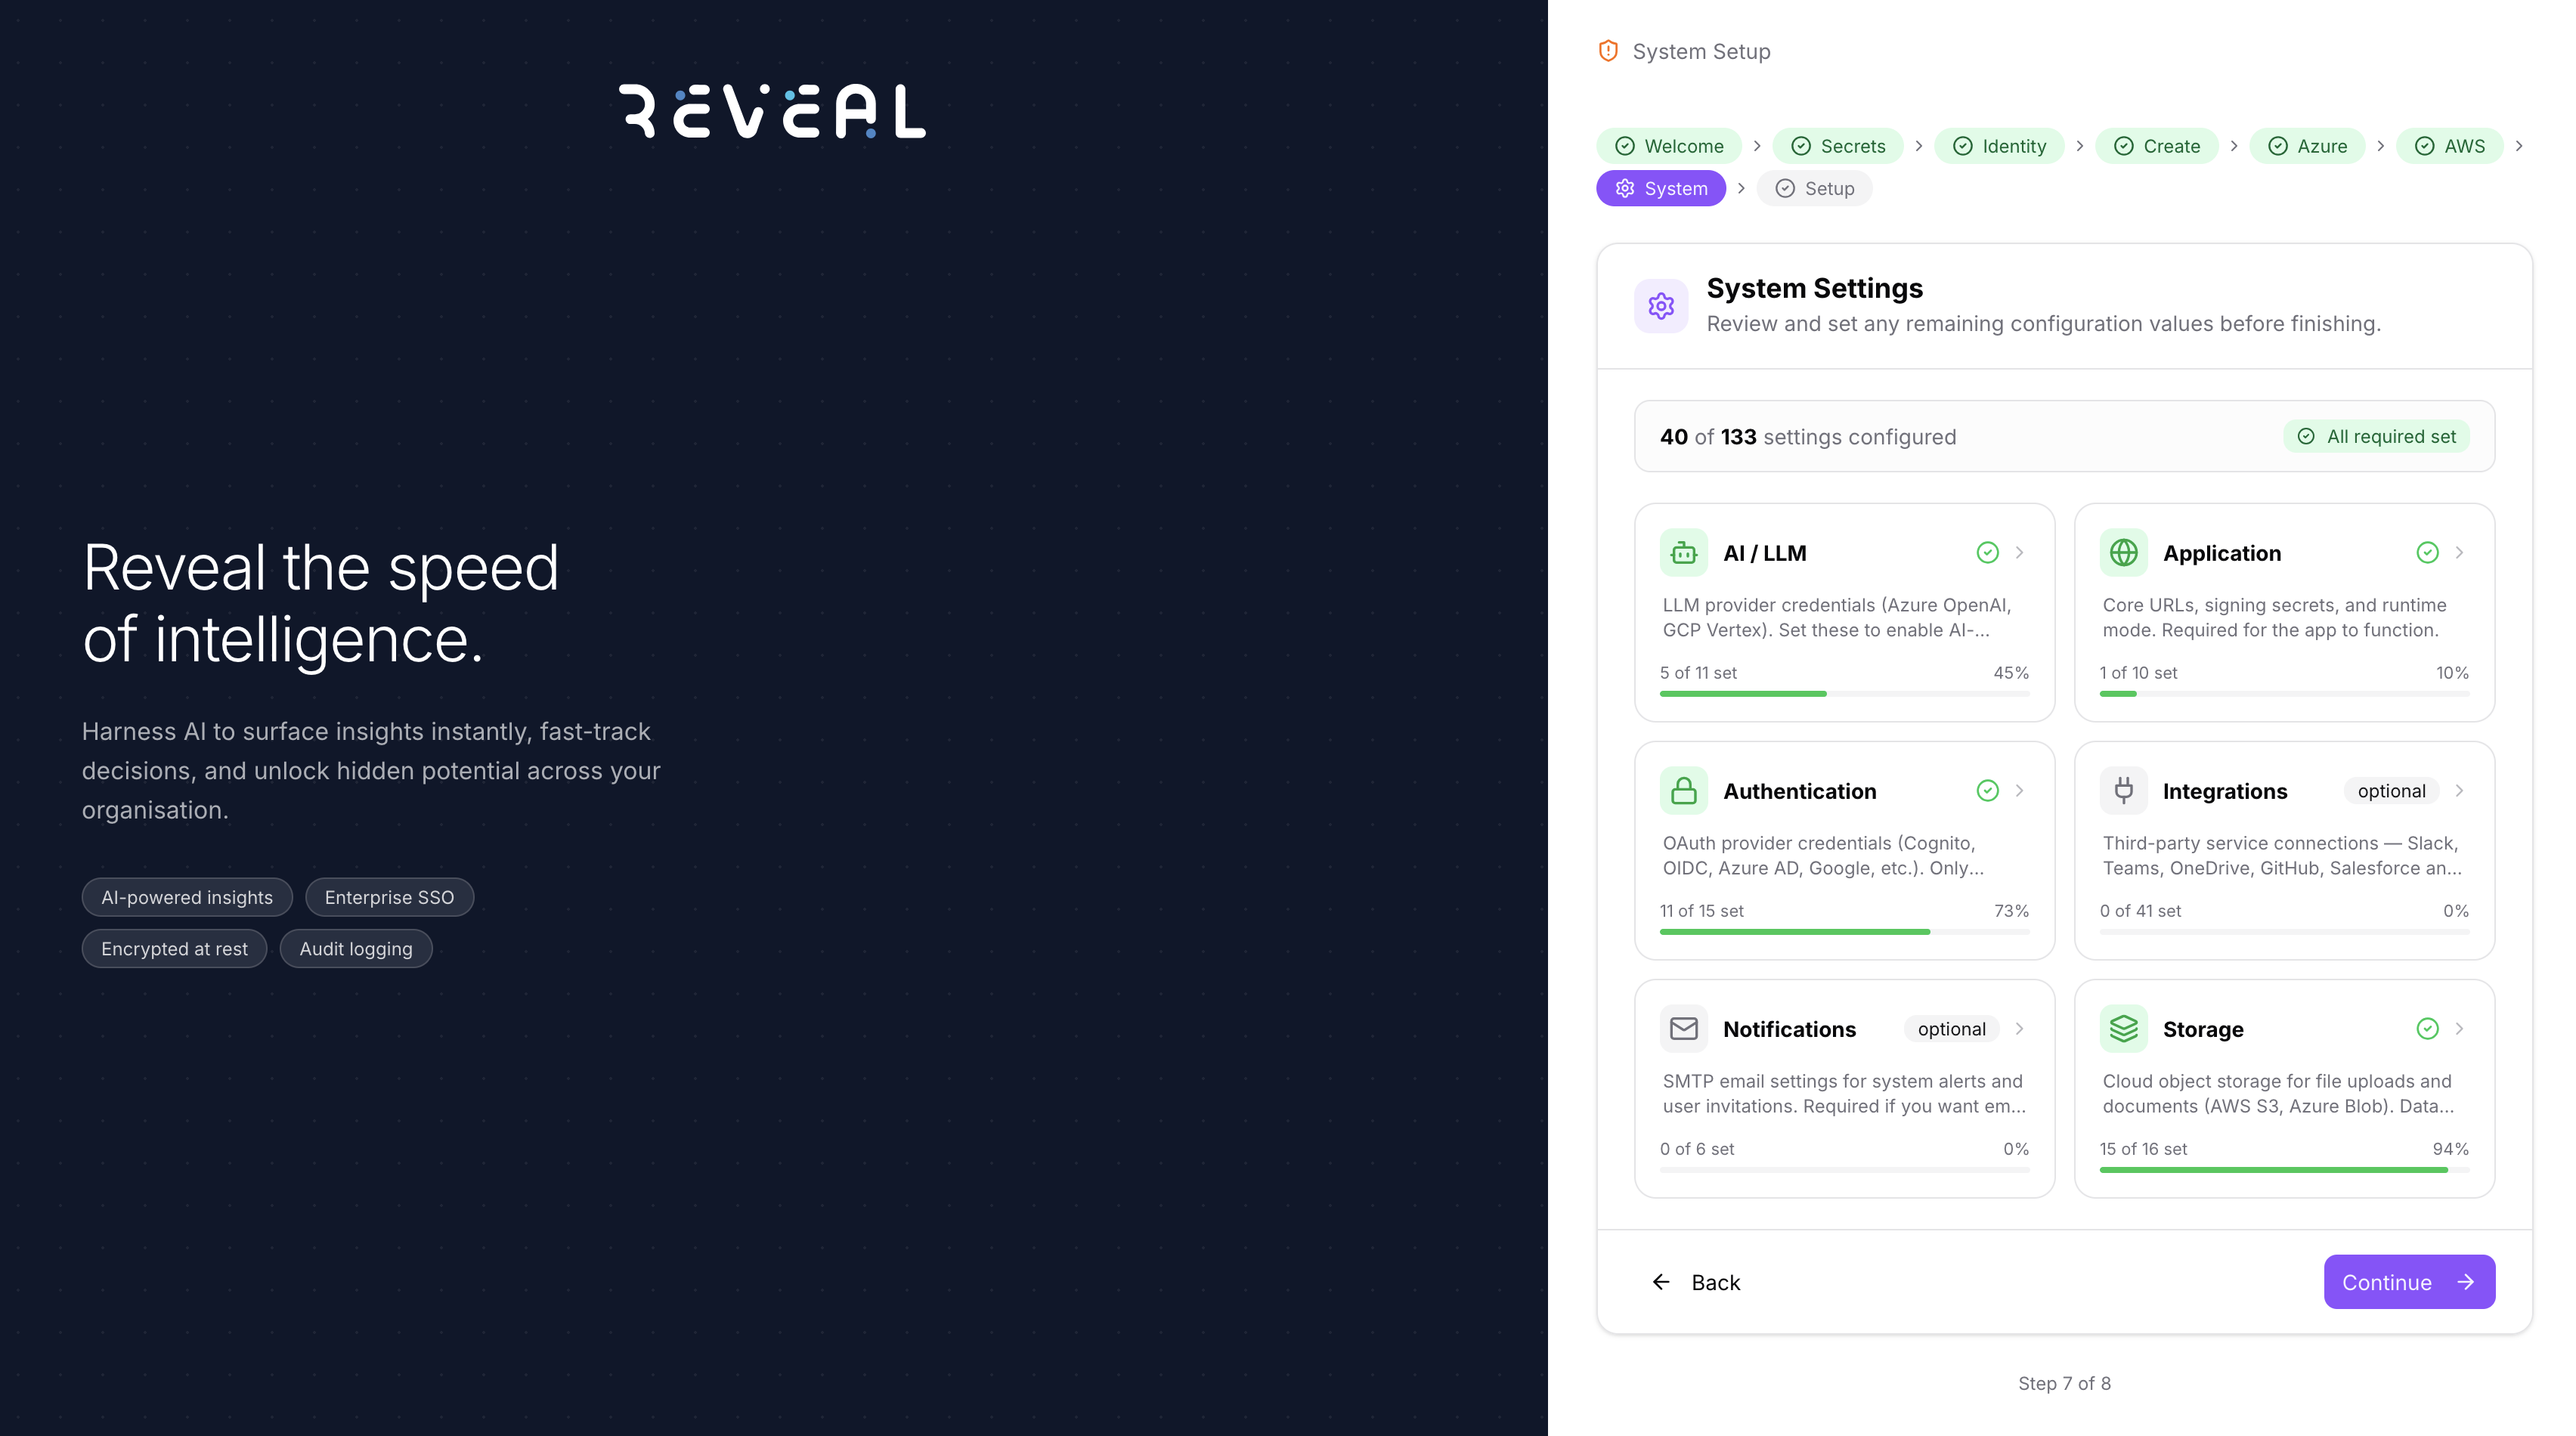
| Category | What it covers |
|---|---|
| AI / LLM | LLM provider credentials (Azure OpenAI, GCP Vertex) |
| Application | Core URLs, signing secrets, and runtime mode |
| Authentication | OAuth provider credentials (Cognito, OIDC, Azure AD, Google) |
| Integrations | Third-party service connections — Slack, Teams, OneDrive, GitHub, Salesforce, and more |
| Notifications | SMTP email settings for system alerts and user invitations |
| Storage | Cloud object storage for file uploads and documents (AWS S3, Azure Blob) |
Required fields are highlighted. Fill in any that are still empty before clicking Continue.
Step 8 — Setup Complete
Once all steps are complete, the wizard confirms that your configuration has been saved.
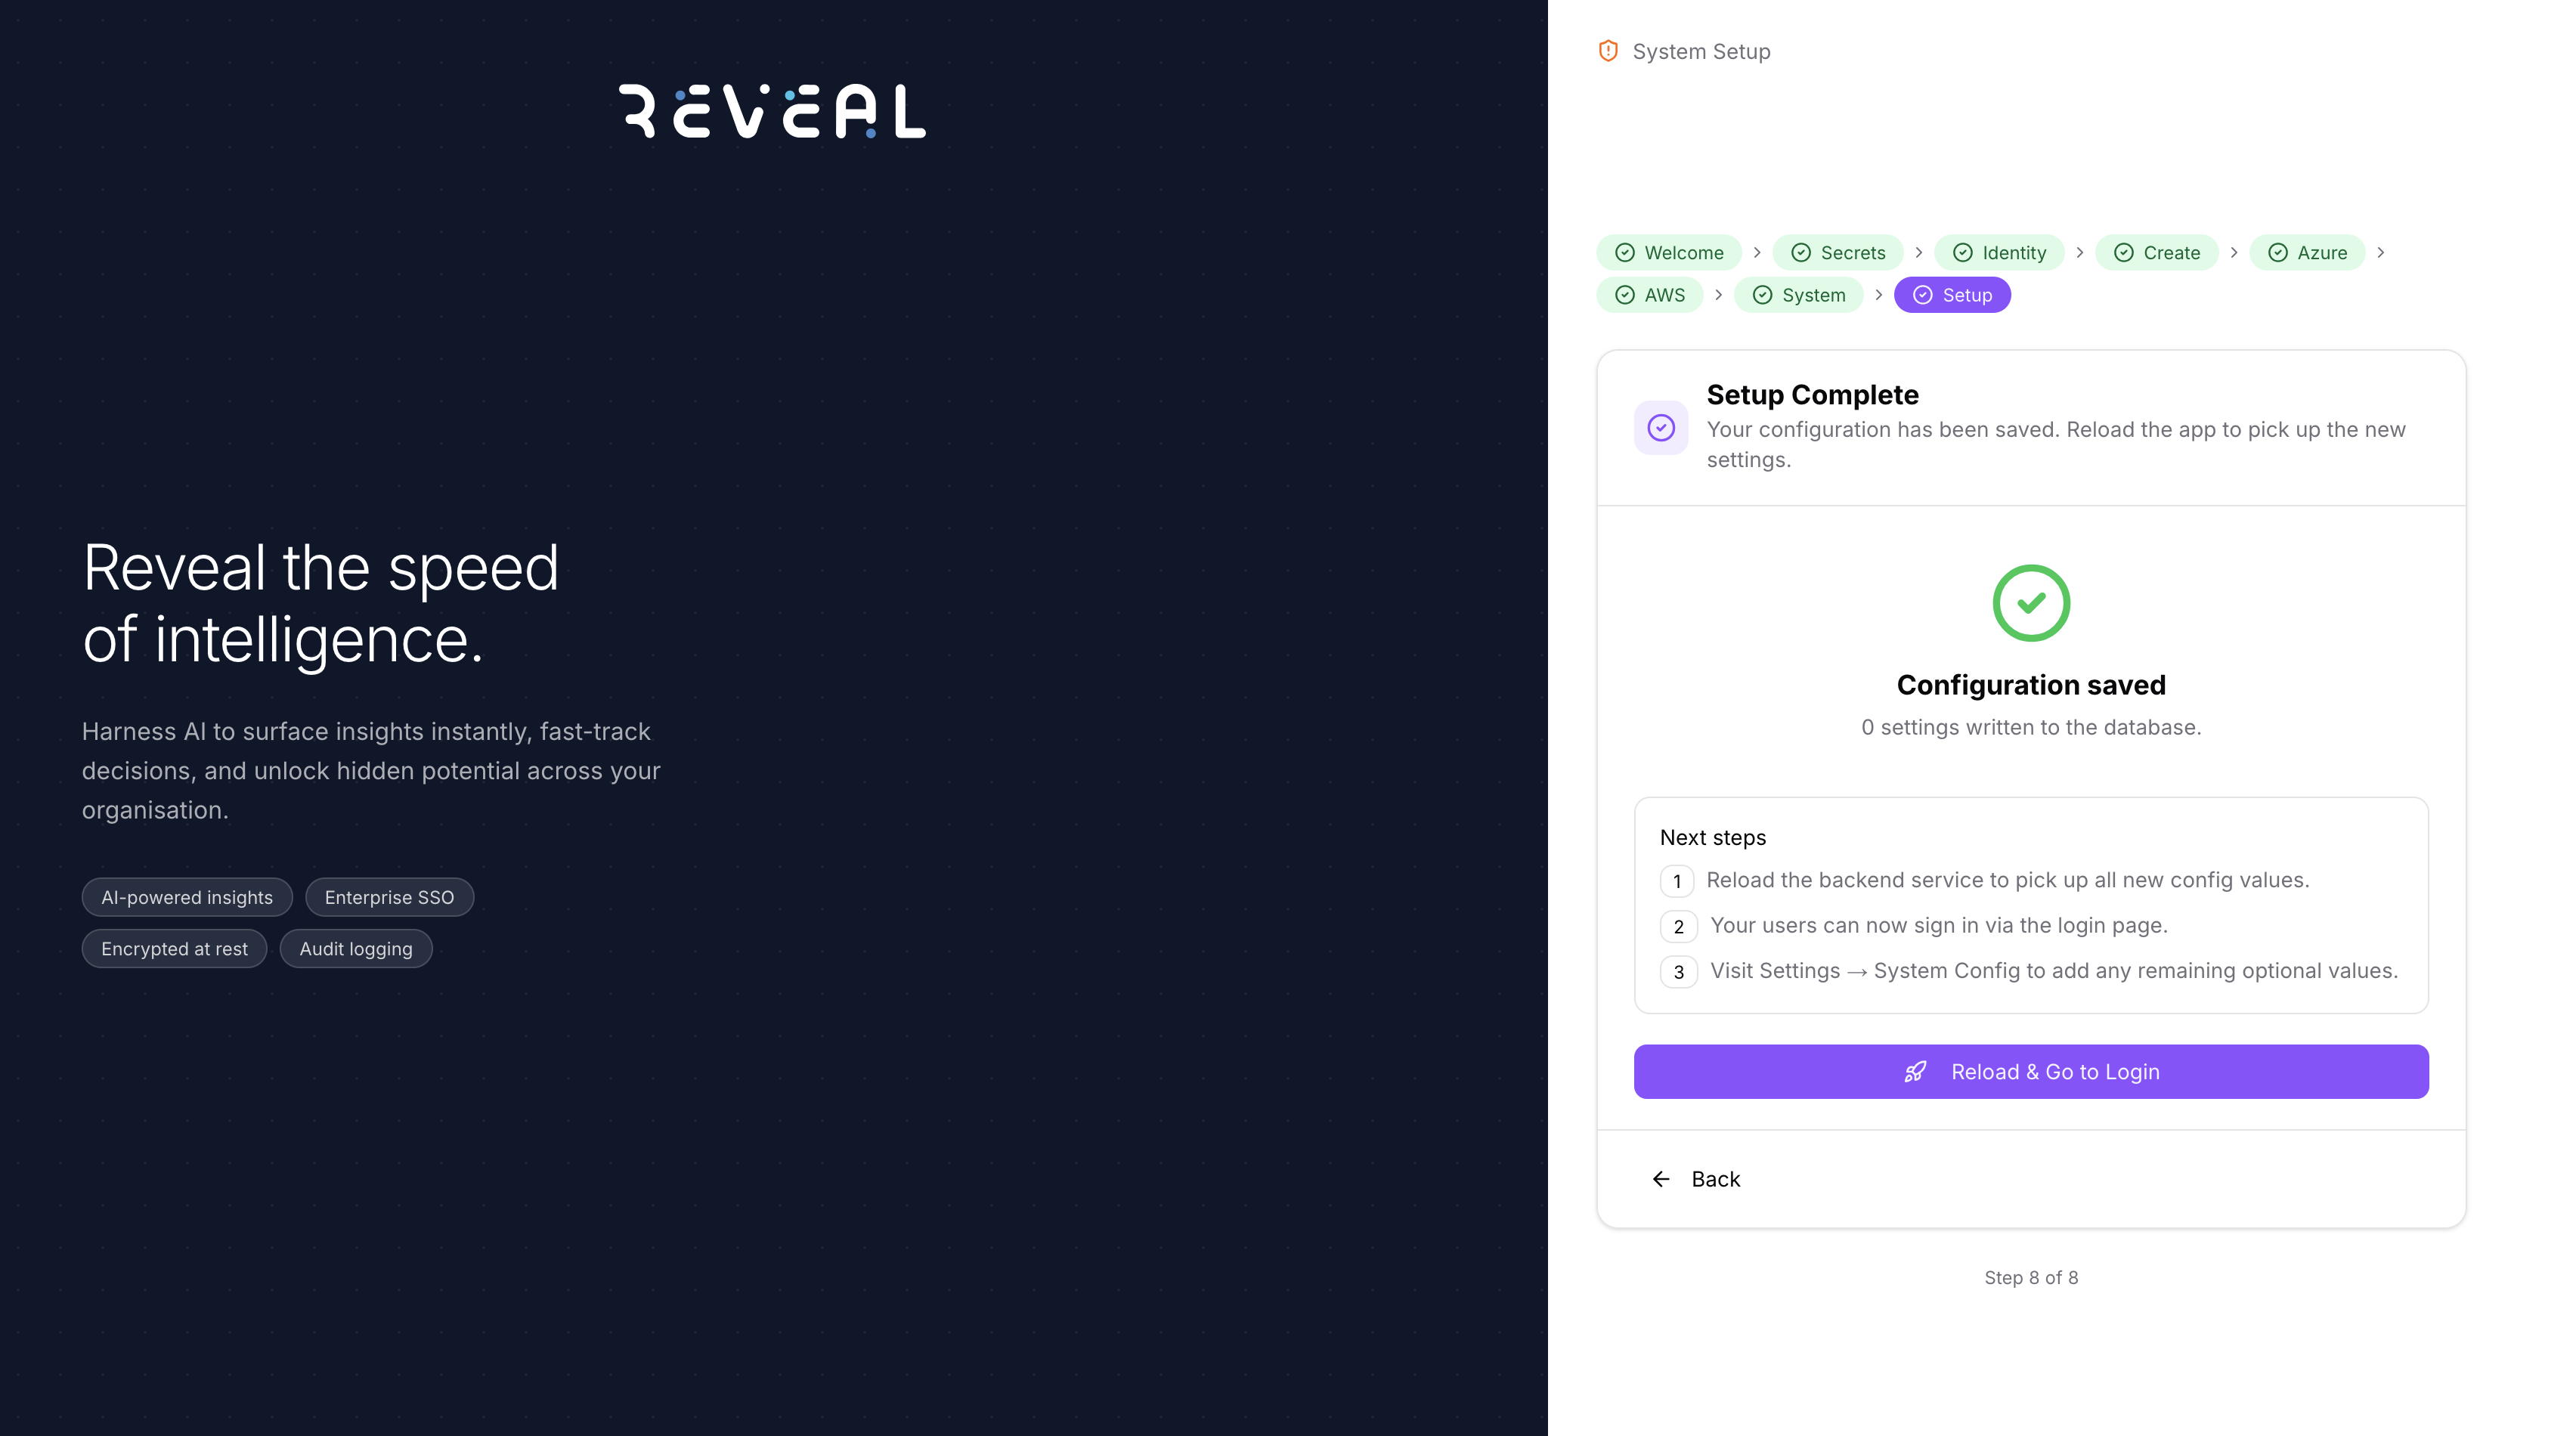
Next steps shown on screen:
- Reload the backend service to pick up all new config values
- Your users can now sign in via the login page
- Visit Settings → System Config to add any remaining optional values
Click Reload & Go to Login to apply all configuration and go to the login page.
If you need to change any setting after the wizard, go to Settings → System Config.